
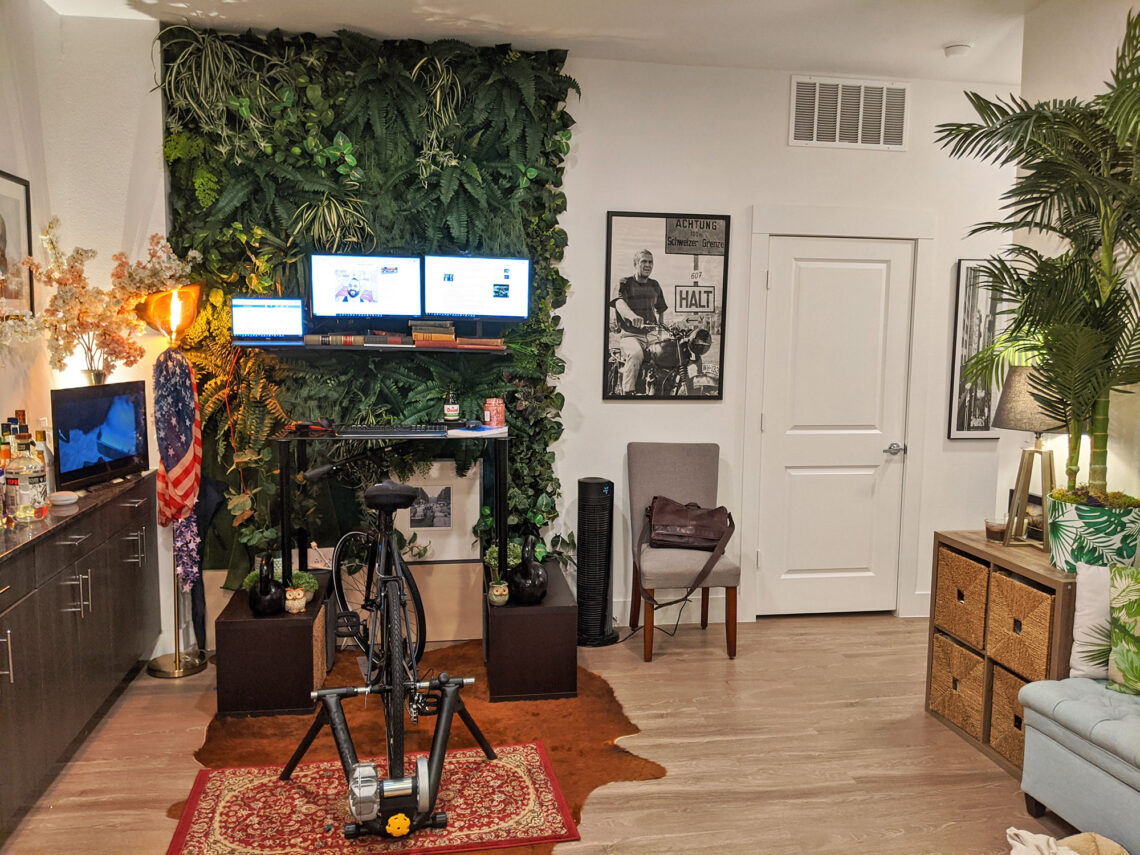
I’ve had my biking desk and faux green wall for a few weeks now and I love my new WFH setup.
The inspiration for the green wall was this post from “A Beautiful Mess,” but I did some modifications.
Specifically, my green wall has lighting, which means that I needed to modify the installation process so the apartment doesn’t burn down. If you want to build your own green wall, I highly recommend consulting an electrician or omitting the lighting element.
Here’s what I used to make the wall.
Tools:
- Power drill + screws and anchors
- Staple gun + staples
- Wire clippers
From Home Depot:
- Four long white pieces of wood to frame the wall
- Stainless steel wire fencing (in the outdoor section, it’s the stuff that can be used for chicken coops)
From Walmart:
- Dark green fabric (comes in its own package)
- Green burlap rolls
From Michaels:
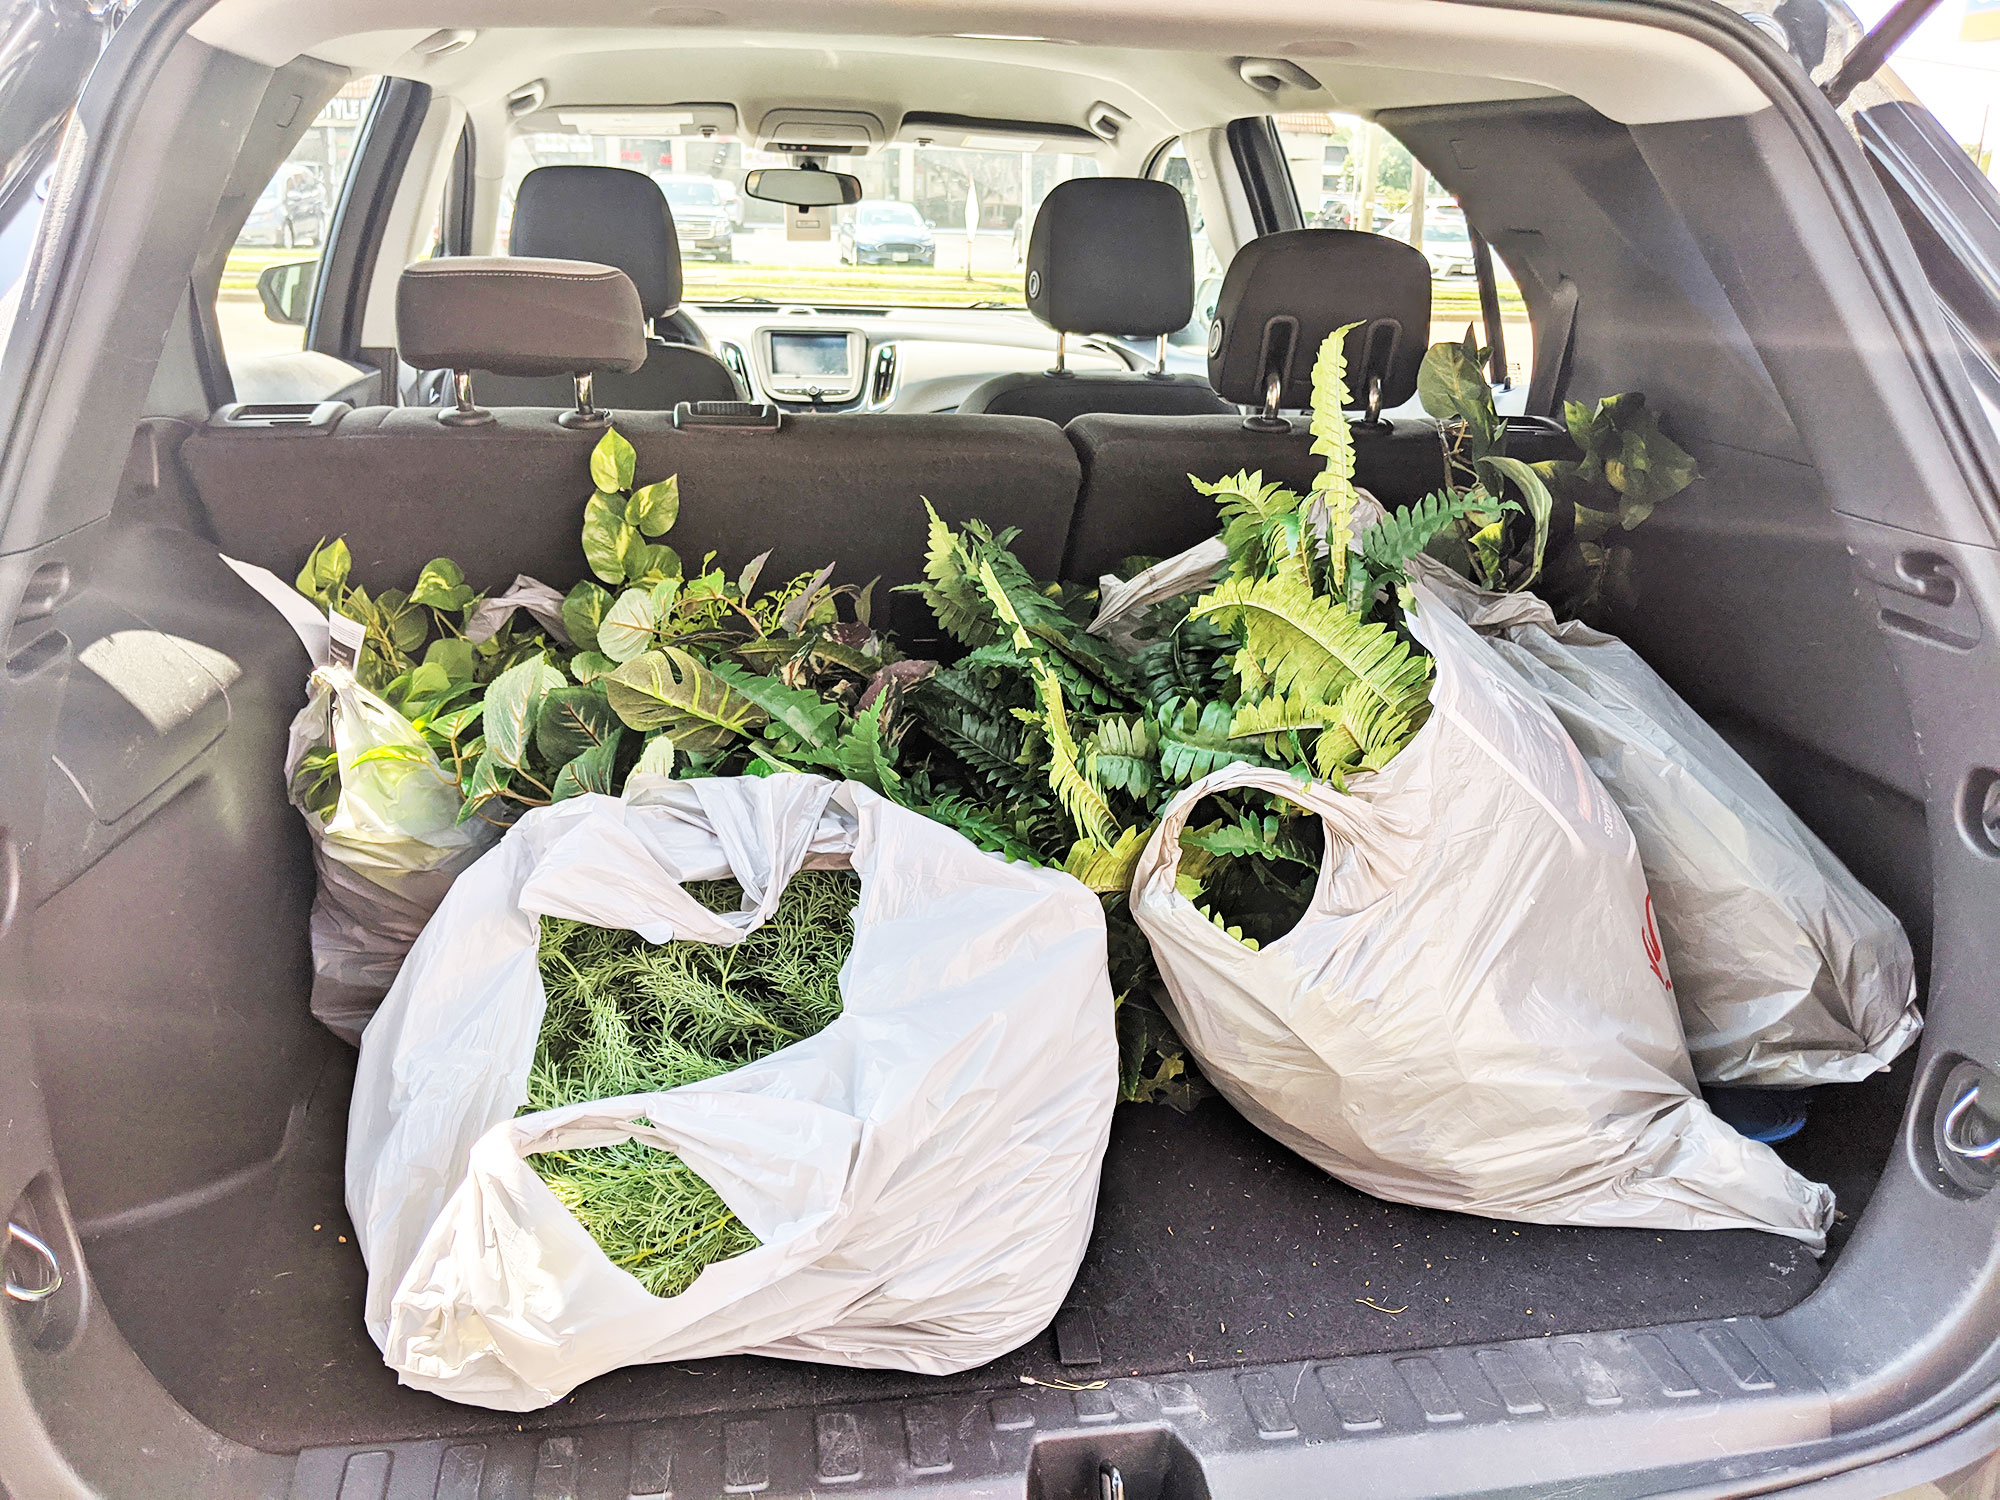
- Tons of fake plants
The fake plants are what I had the most anxiety about. I had never even been inside of a Michaels store and I was really worried about the cost getting out of hand.
Two things that I highly recommend are 1) signing up for the rewards program because you’ll get a discount off your first purchase, and 2) wait until Michaels has a sale, particularly at the end of a season. I was able to get some of the plants at 70% discounts, which was a huge help.
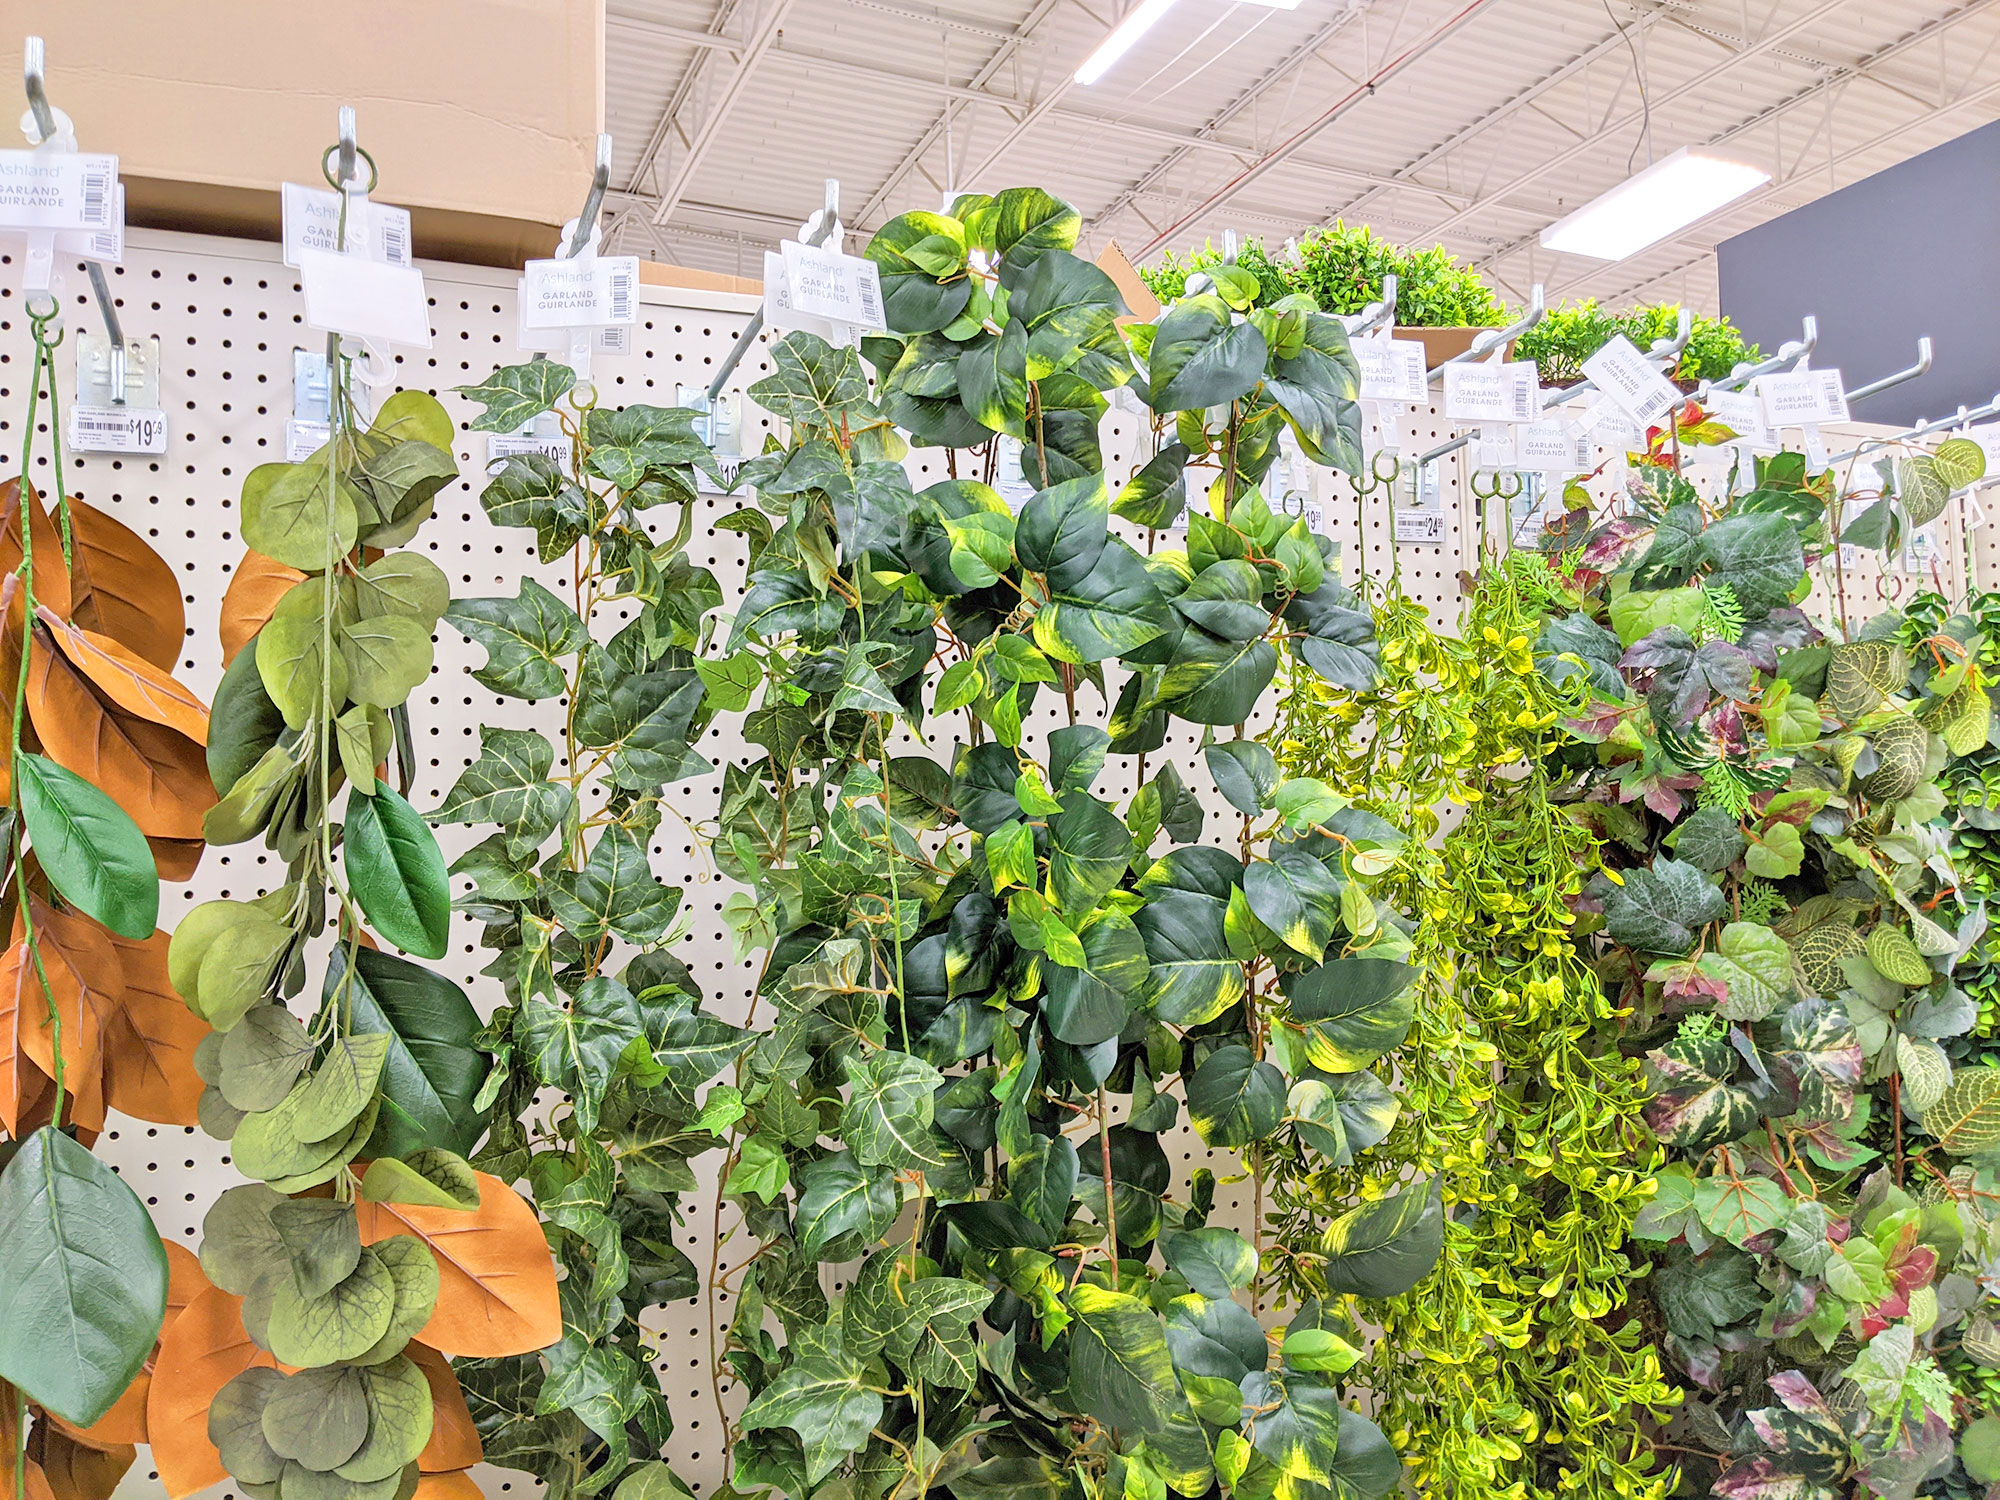
Buying faux green plants at Michaels during a sale.
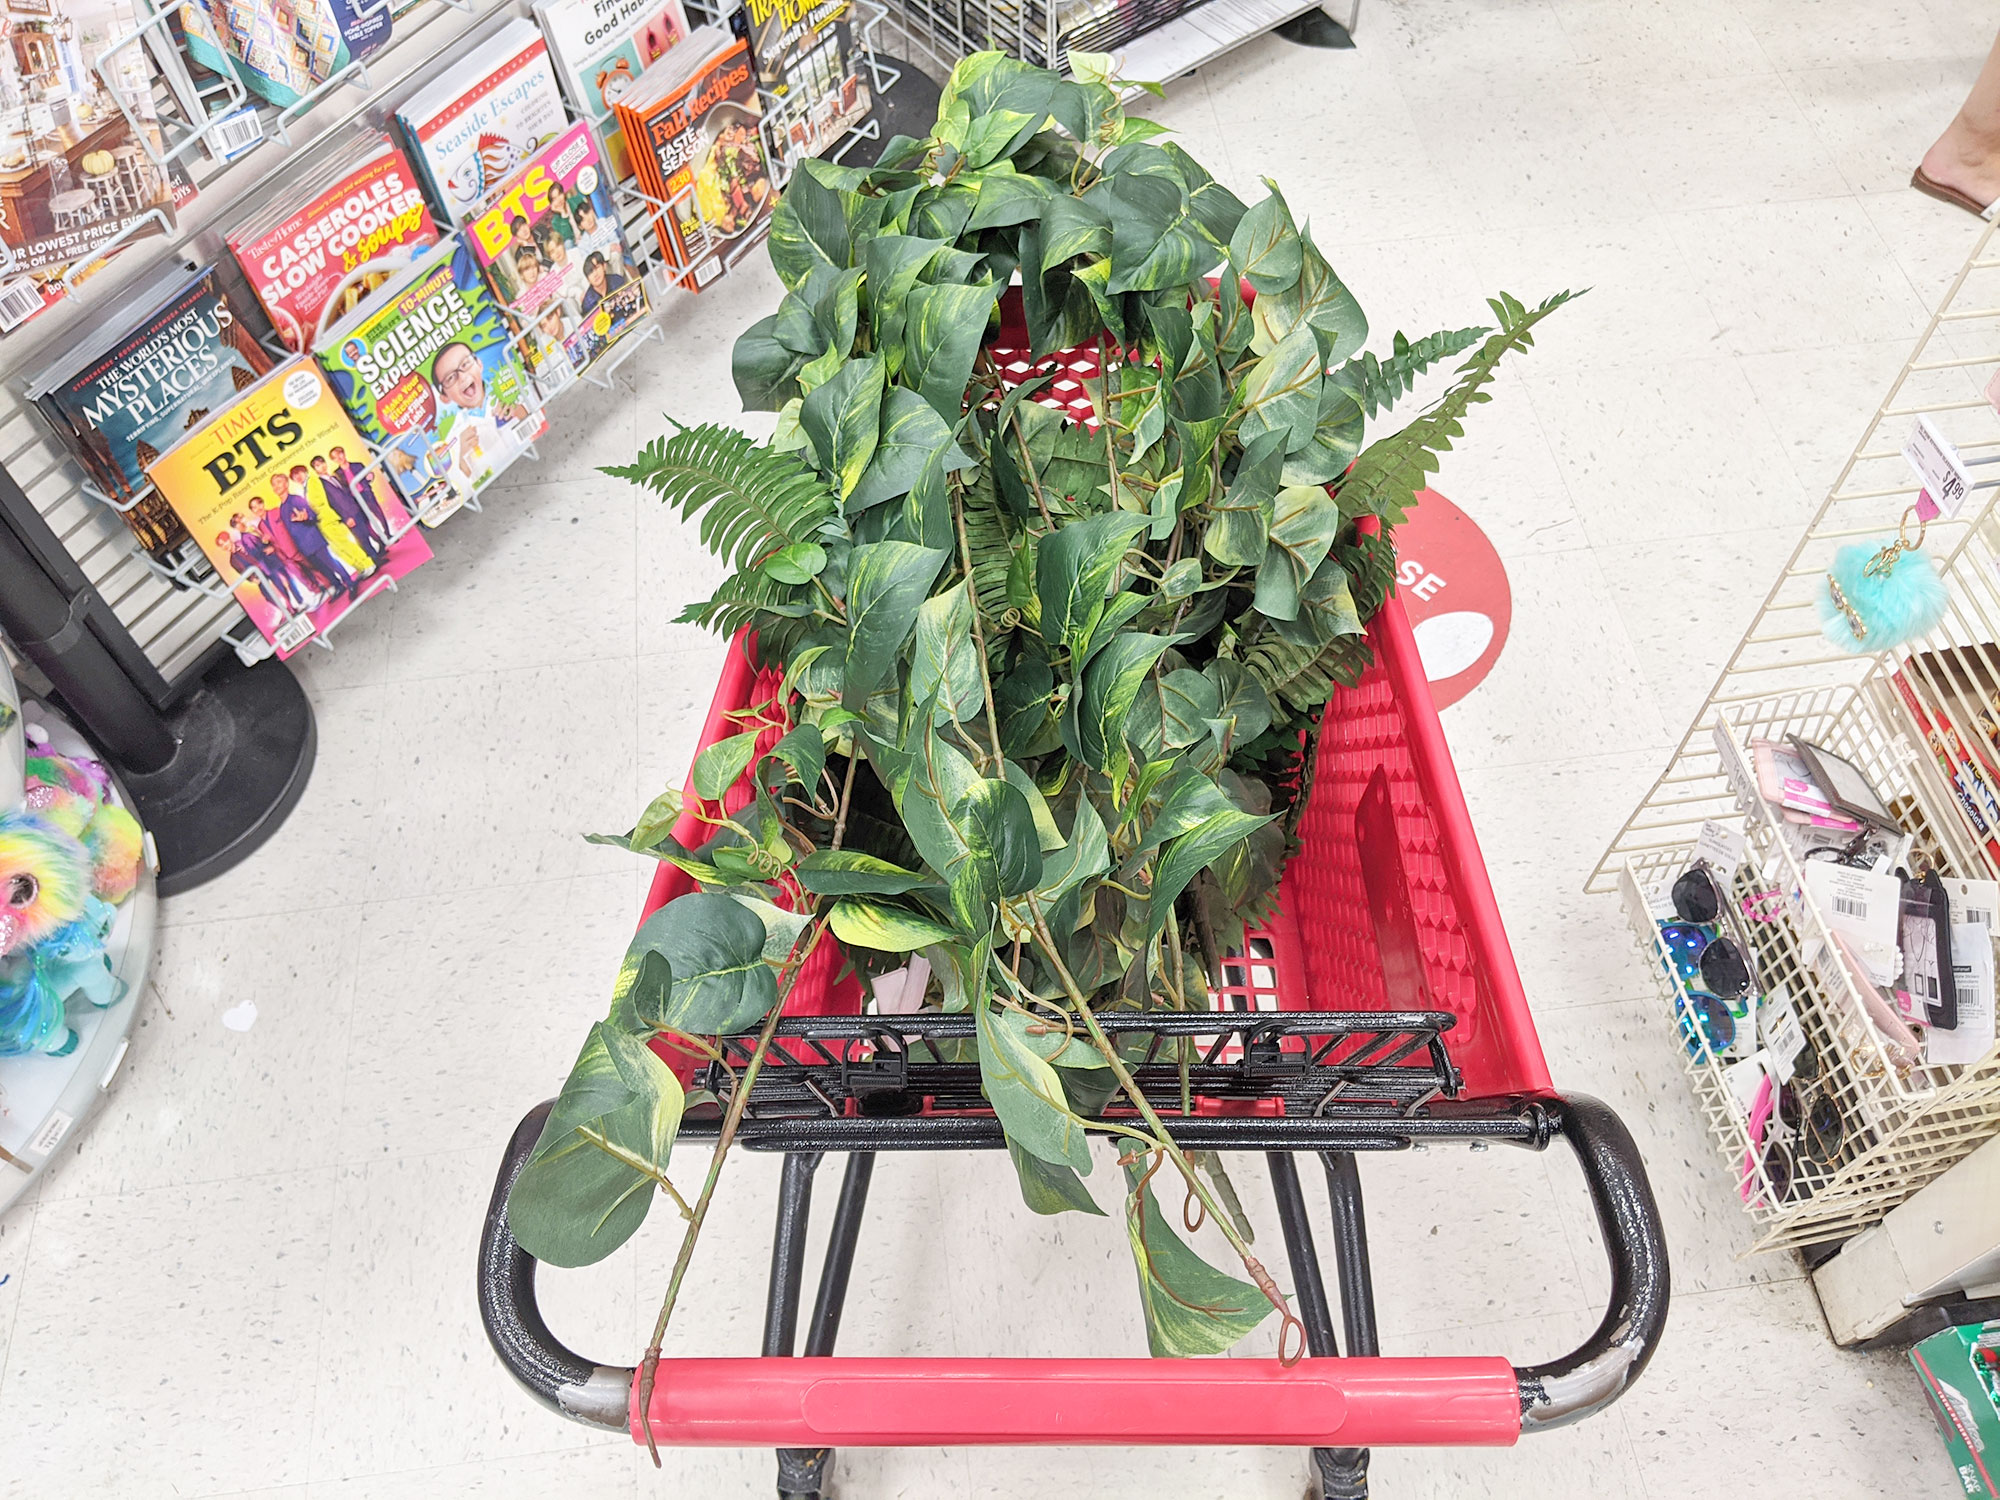
Buying faux green plants at Michaels during a sale.
Buying fake plants from Michaels – I felt completely ridiculous.
Also, figure out how much of the wall is going to be covered with your desk, art, or other objects. Don’t waste money buying plants for areas that are just going to be covered up.
Step 1
Use the boards to frame the faux green wall area. The purpose of this frame is twofold — it will help create a space for the puck lighting, and minimize the amount of damage that you’re doing to the wall. This is a good idea even if you’re skipping the lighting part.
Make sure that you either screw the boards into wall studs or use anchors. I used wall studs, which is the frame is a little off. This is perfectly fine.
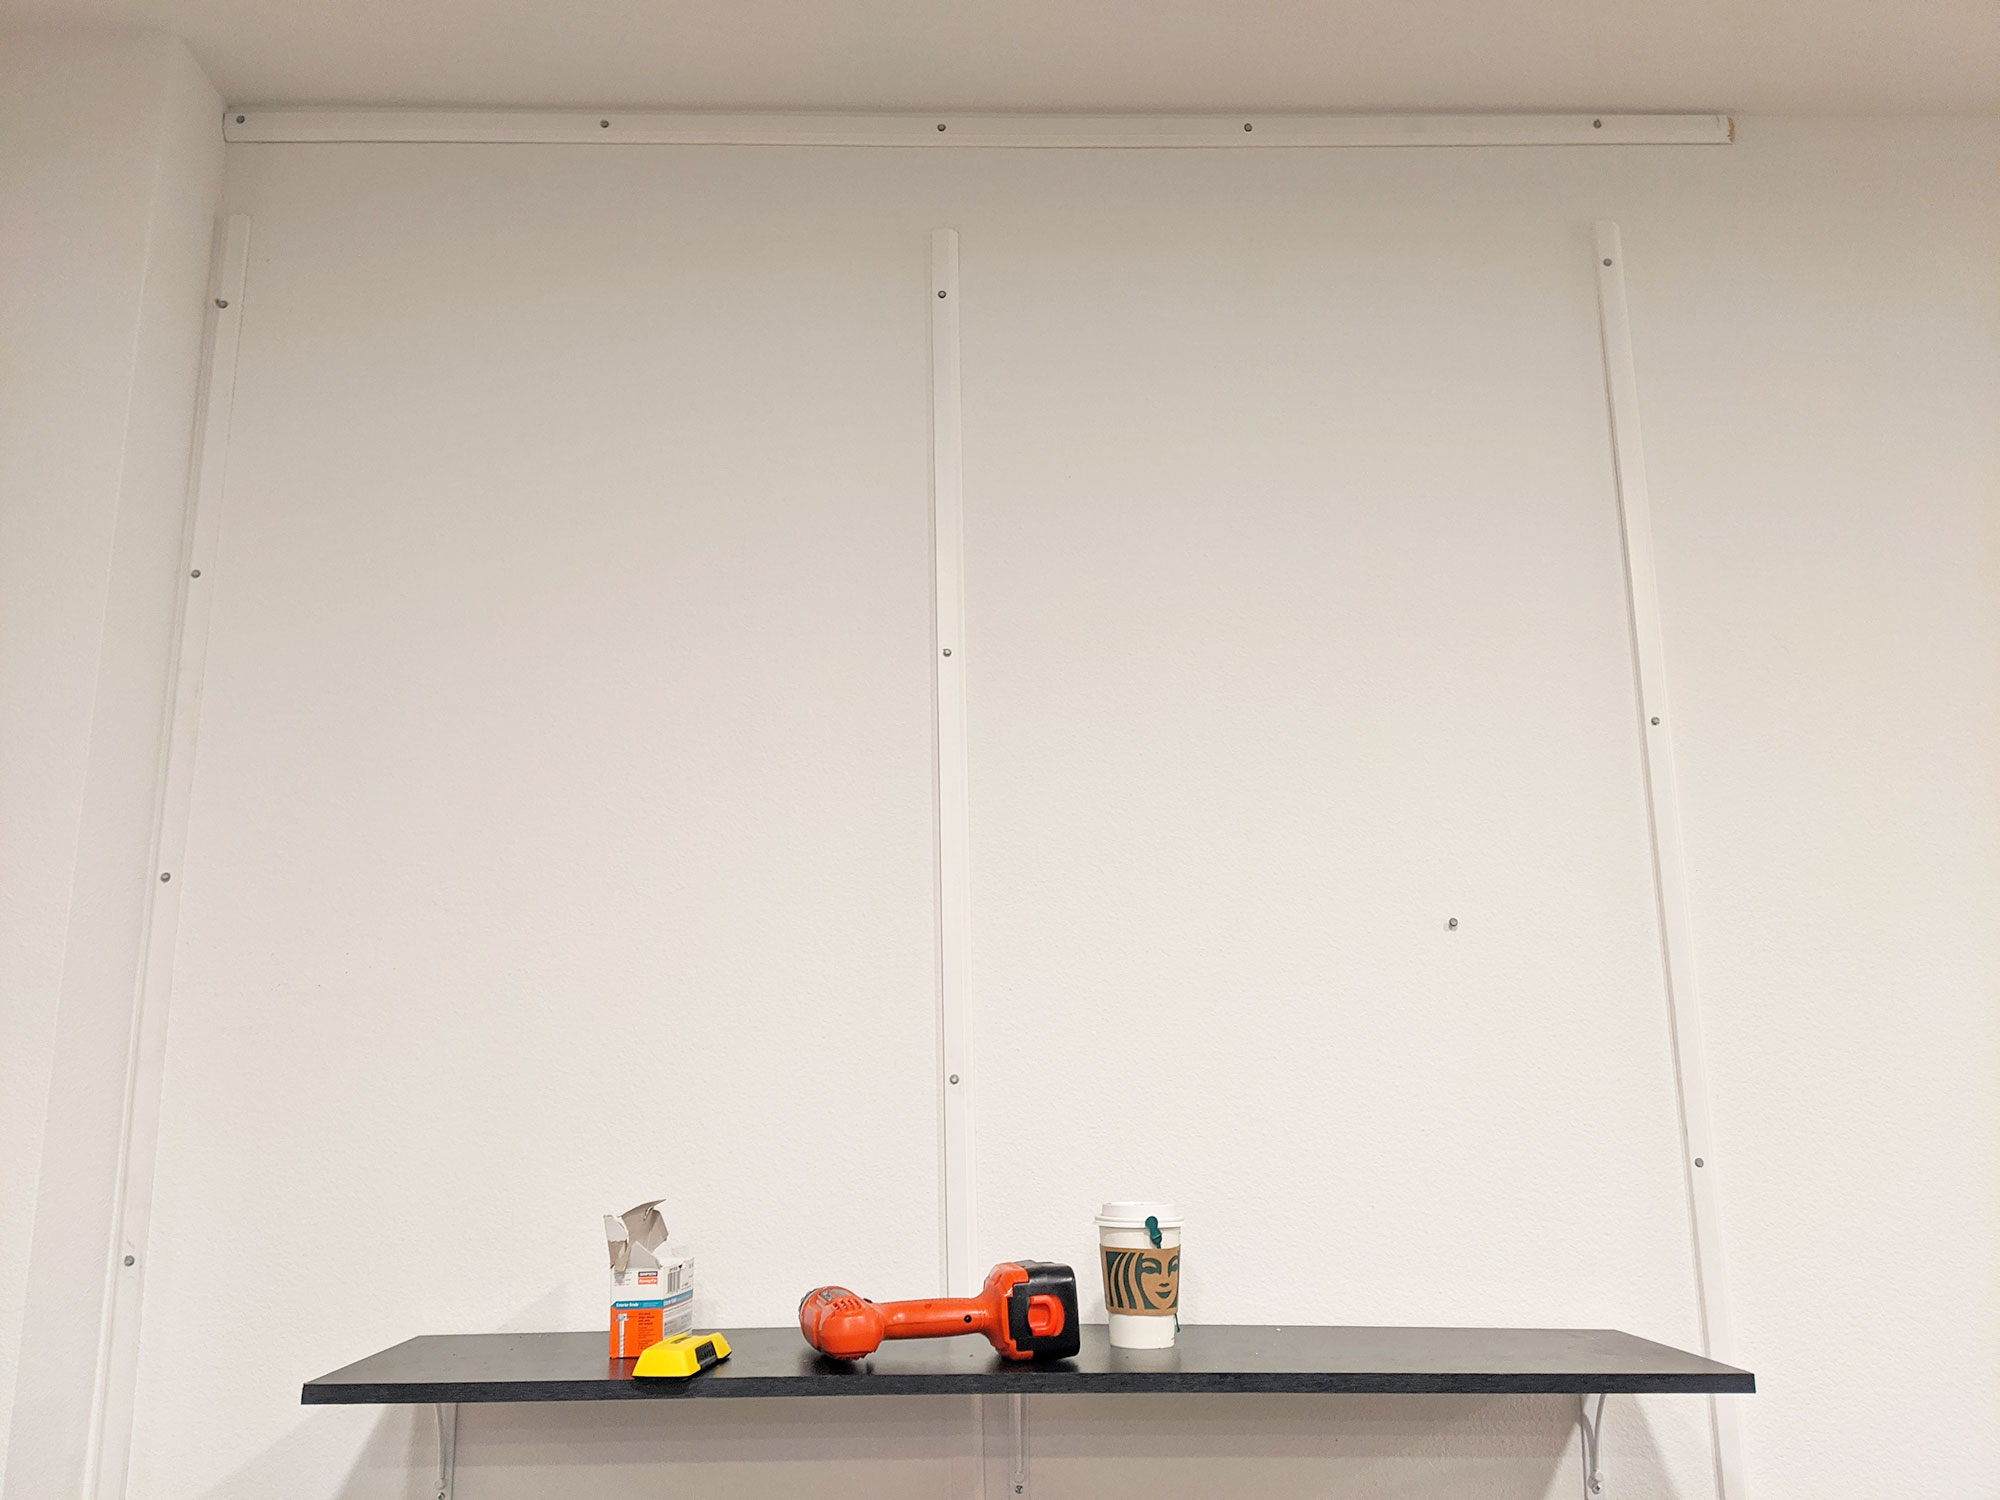
Installing the frame for the faux green wall.
Step 2
Install the puck lighting. The puck lights that I bought have holders that were pretty easy to drill into the wall.
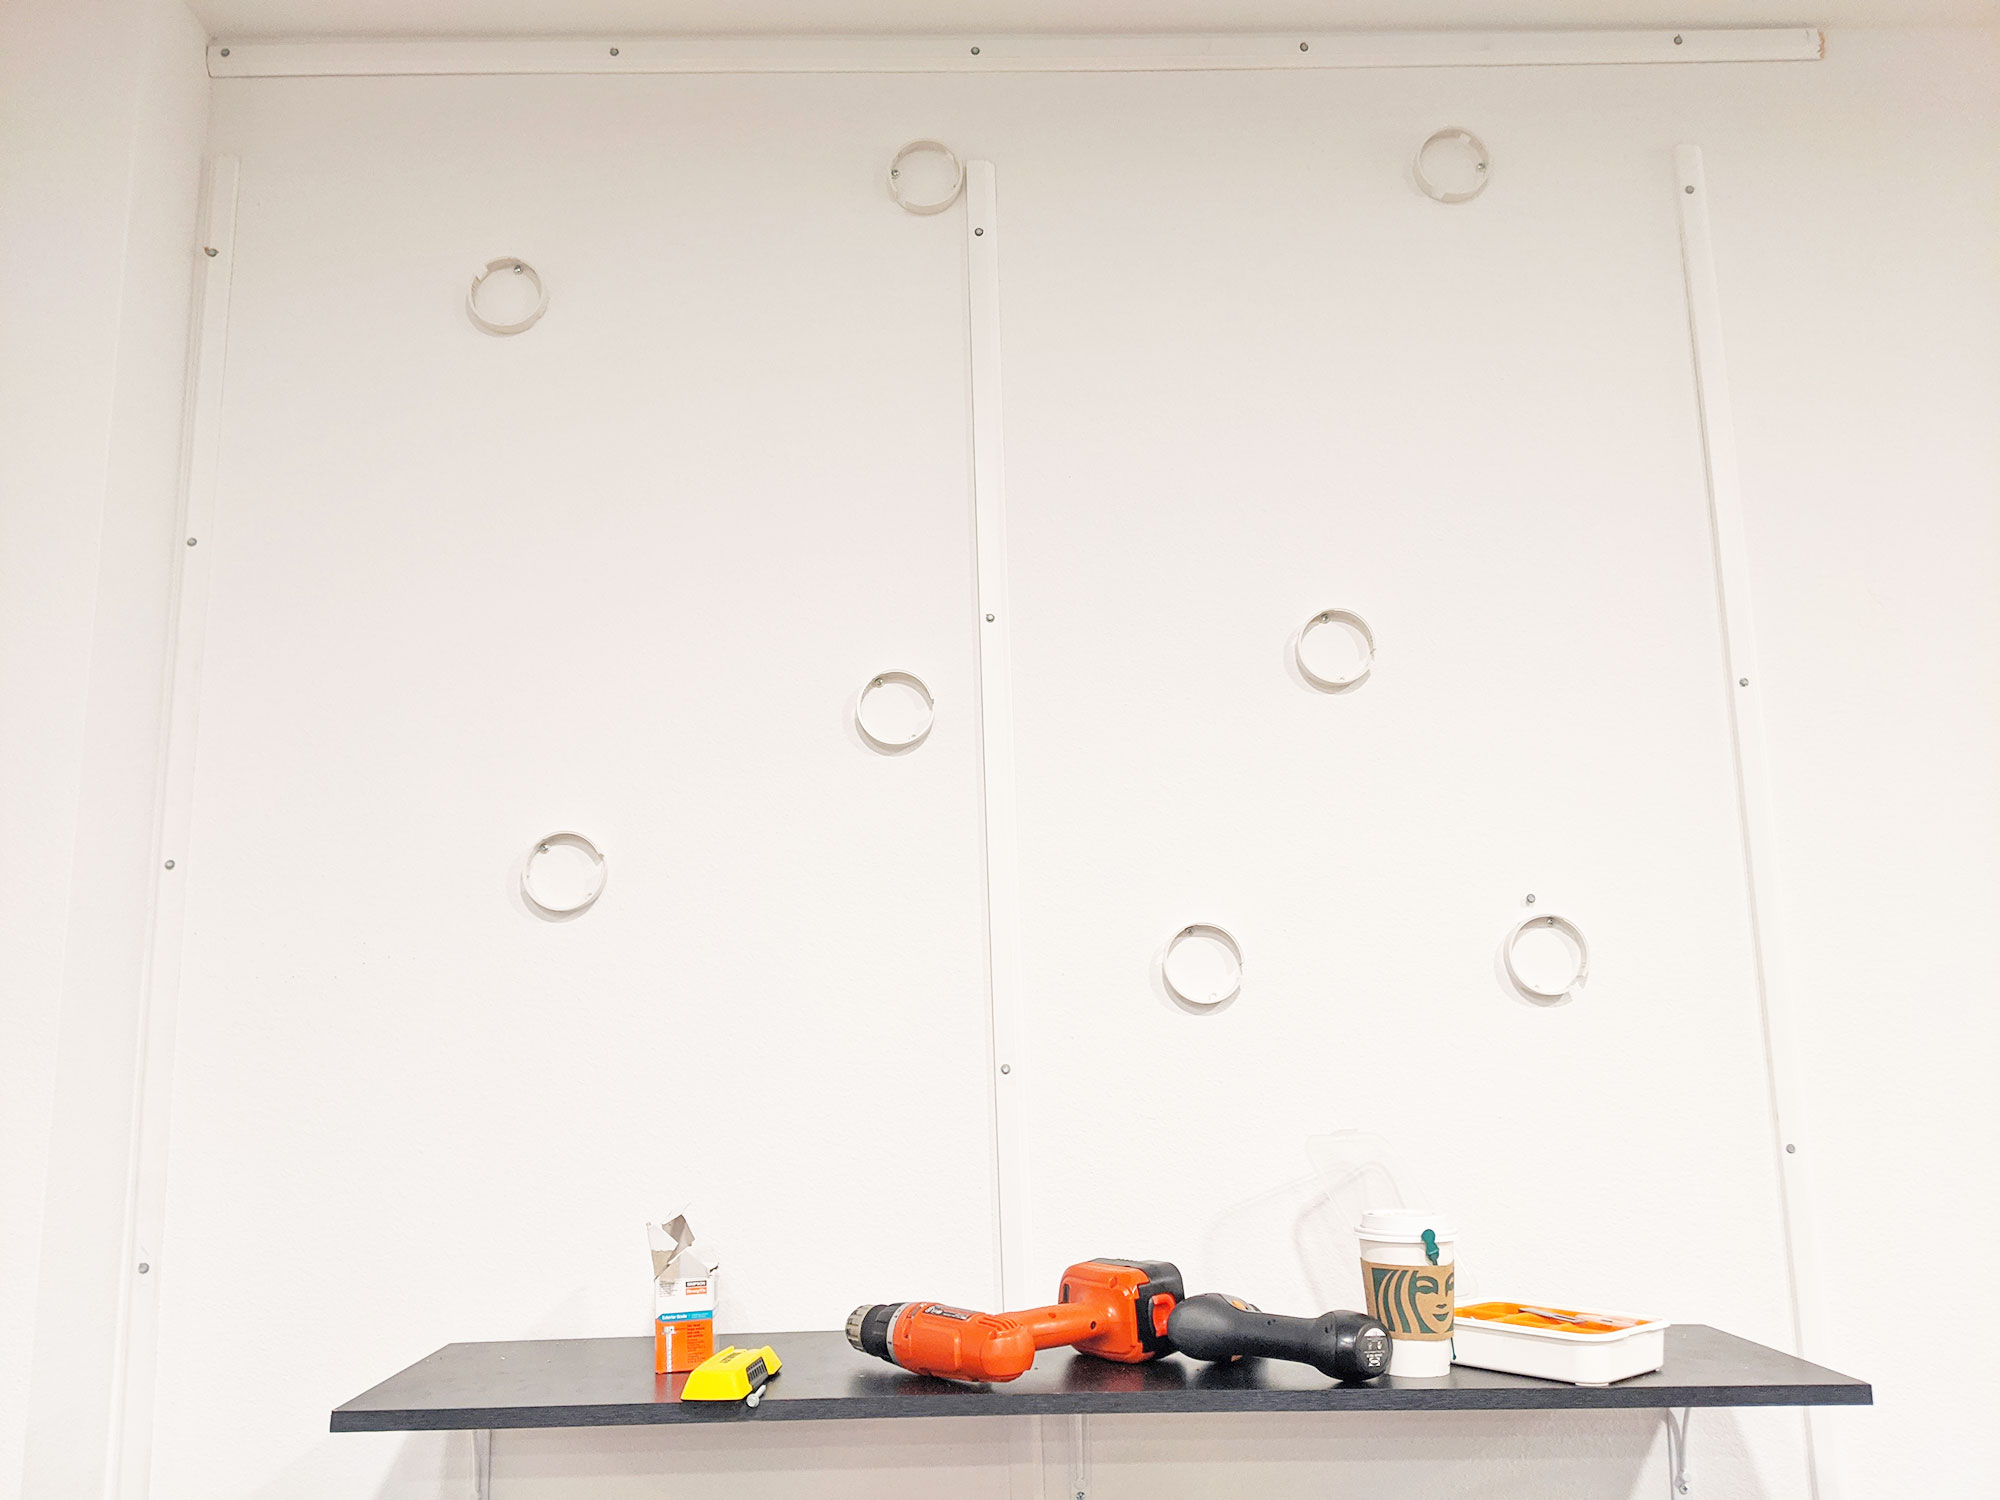
Installing the puck lighting for the faux green wall.
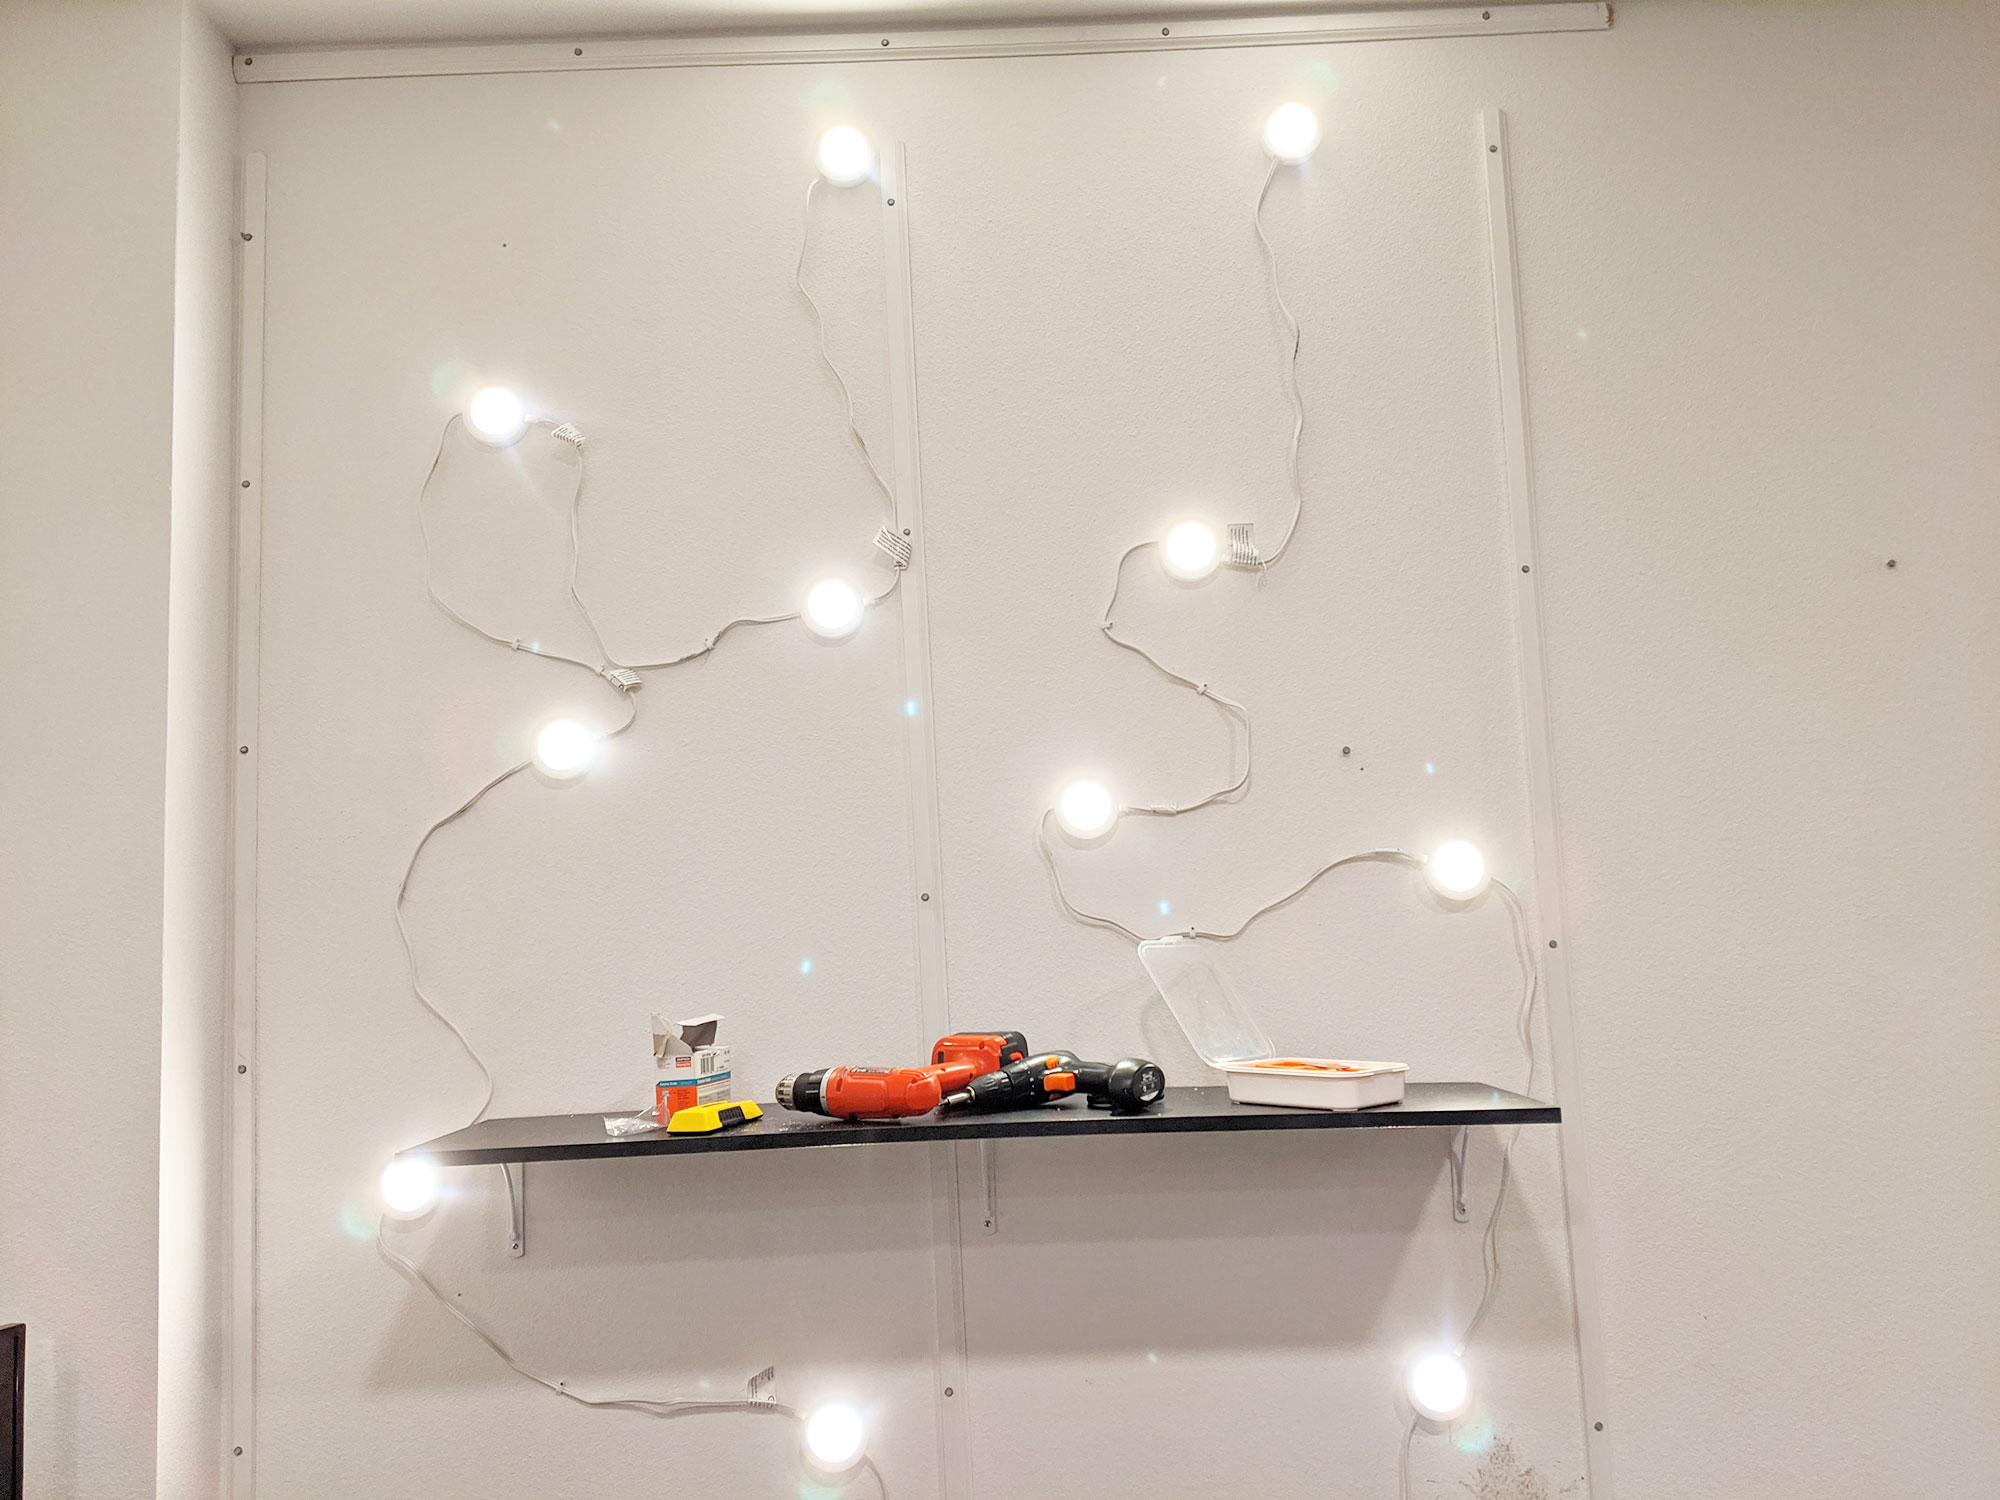
Installing puck lighting for my new faux green wall.
Step 3
Attach the wire fencing to the wood frame using screws and the stapler. The fencing should not touch the lighting.
The wire fence is a screen to separate the plants from the puck lighting. The fencing will also hold the weight of the plants, so make sure that it is well-stapled into the frame. Add screws for extra support.
The goal here is to make sure that the wall doesn’t collapse or burn down in the middle of the night.
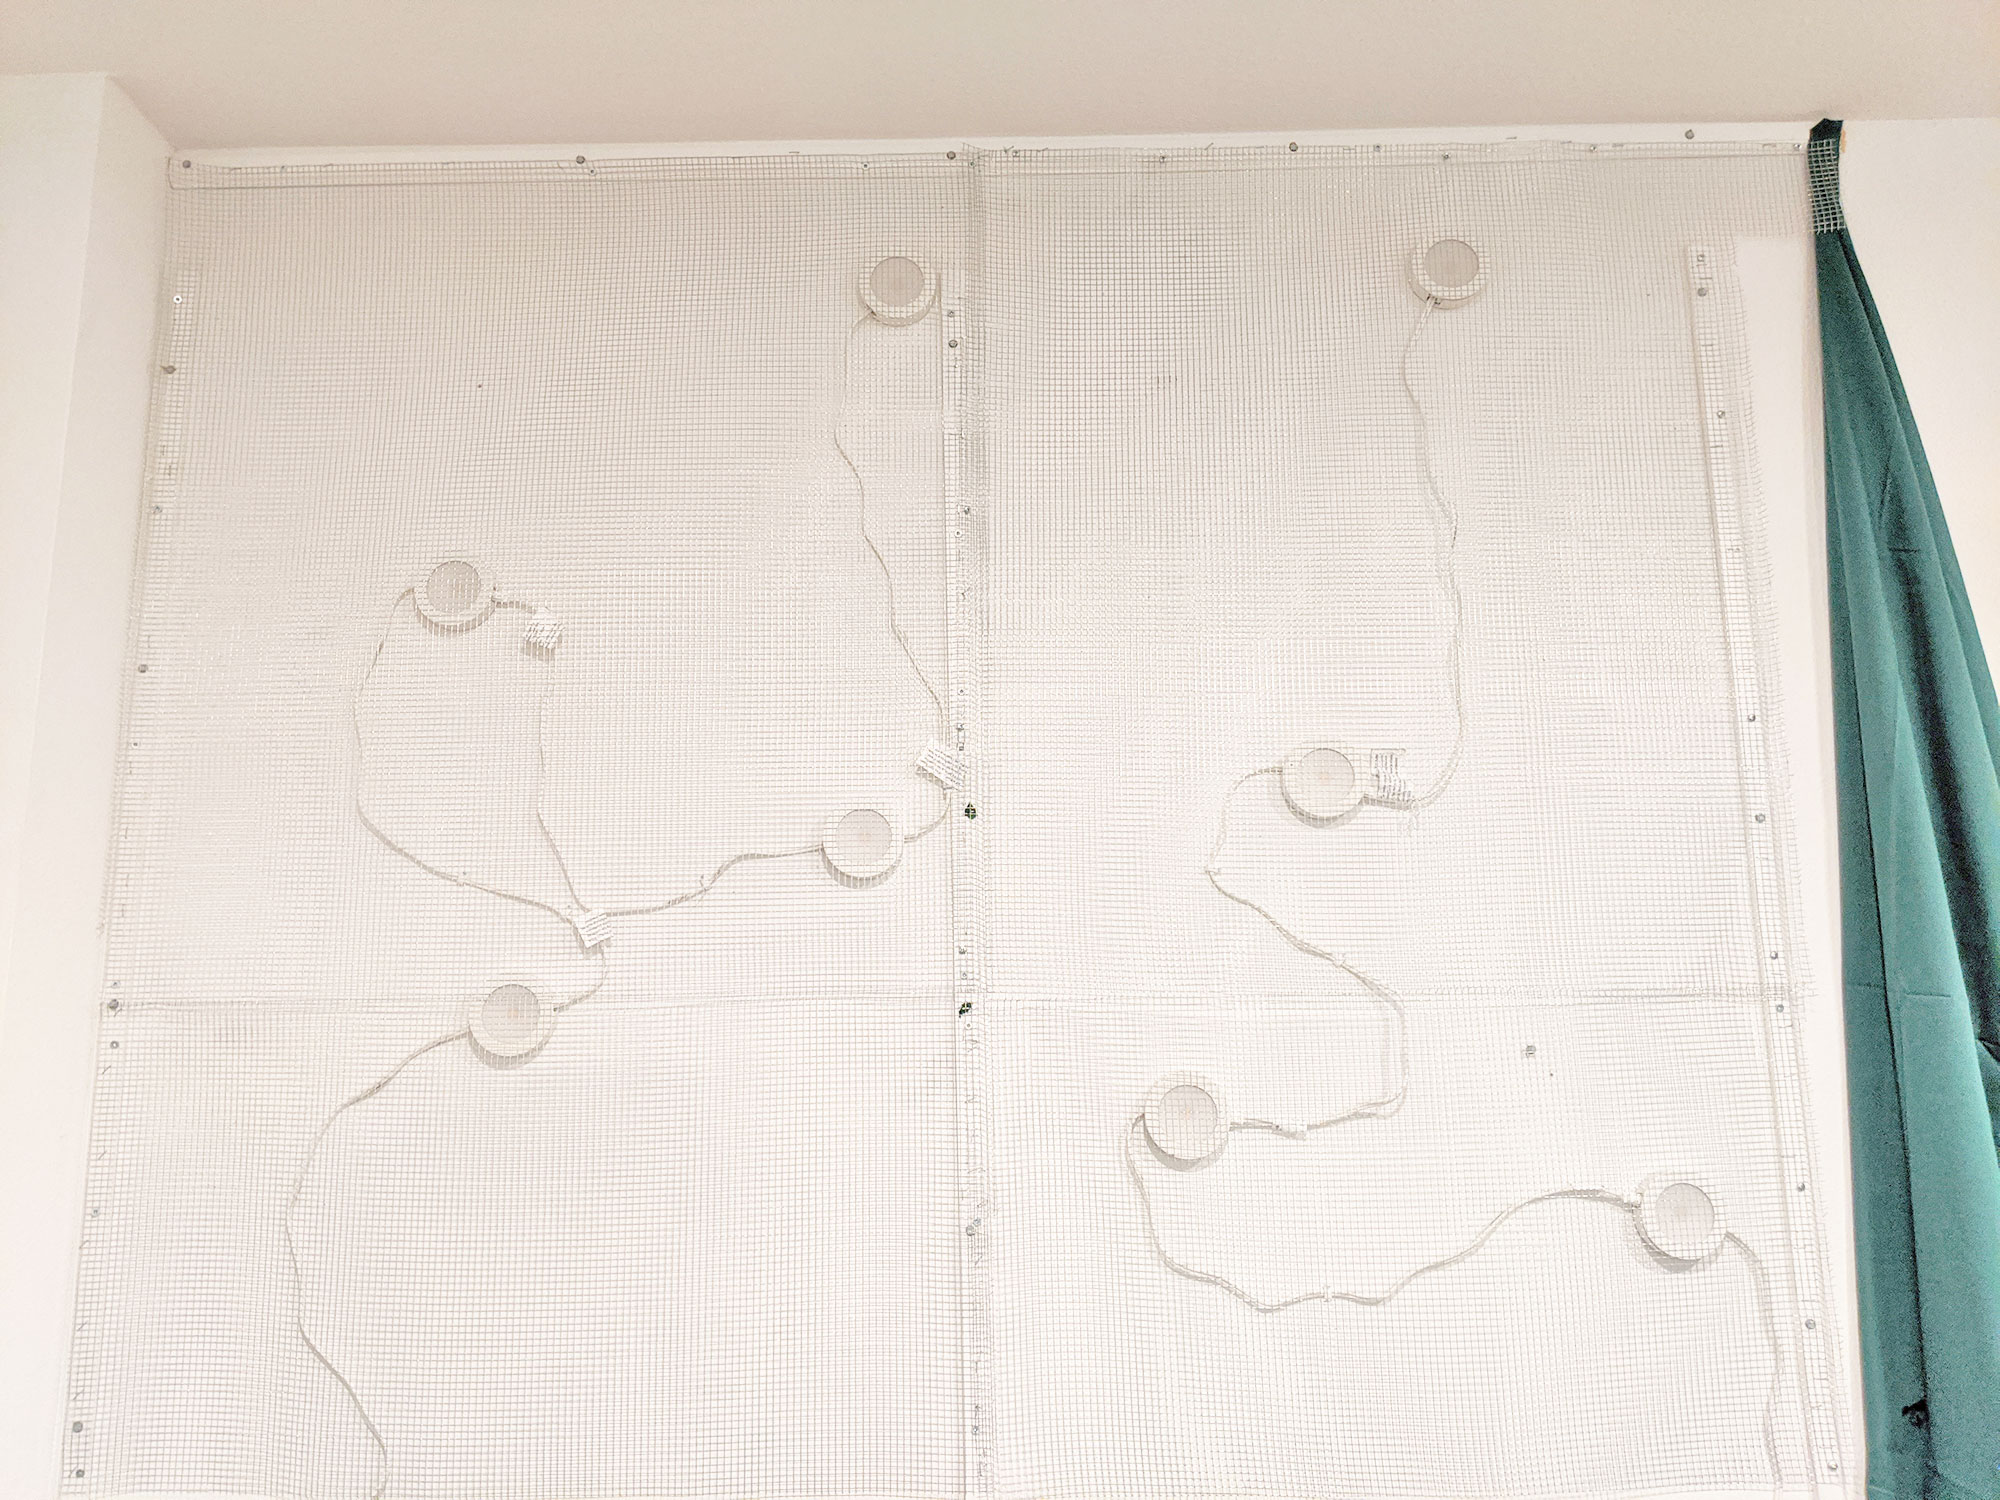
Installing the metal grate on my faux green wall. Make sure that it doesn’t touch any wires or lights.
Step 4
Staple the dark green cloth to the wood frame. Use the green burlap for the edges, and to frame any desk areas.
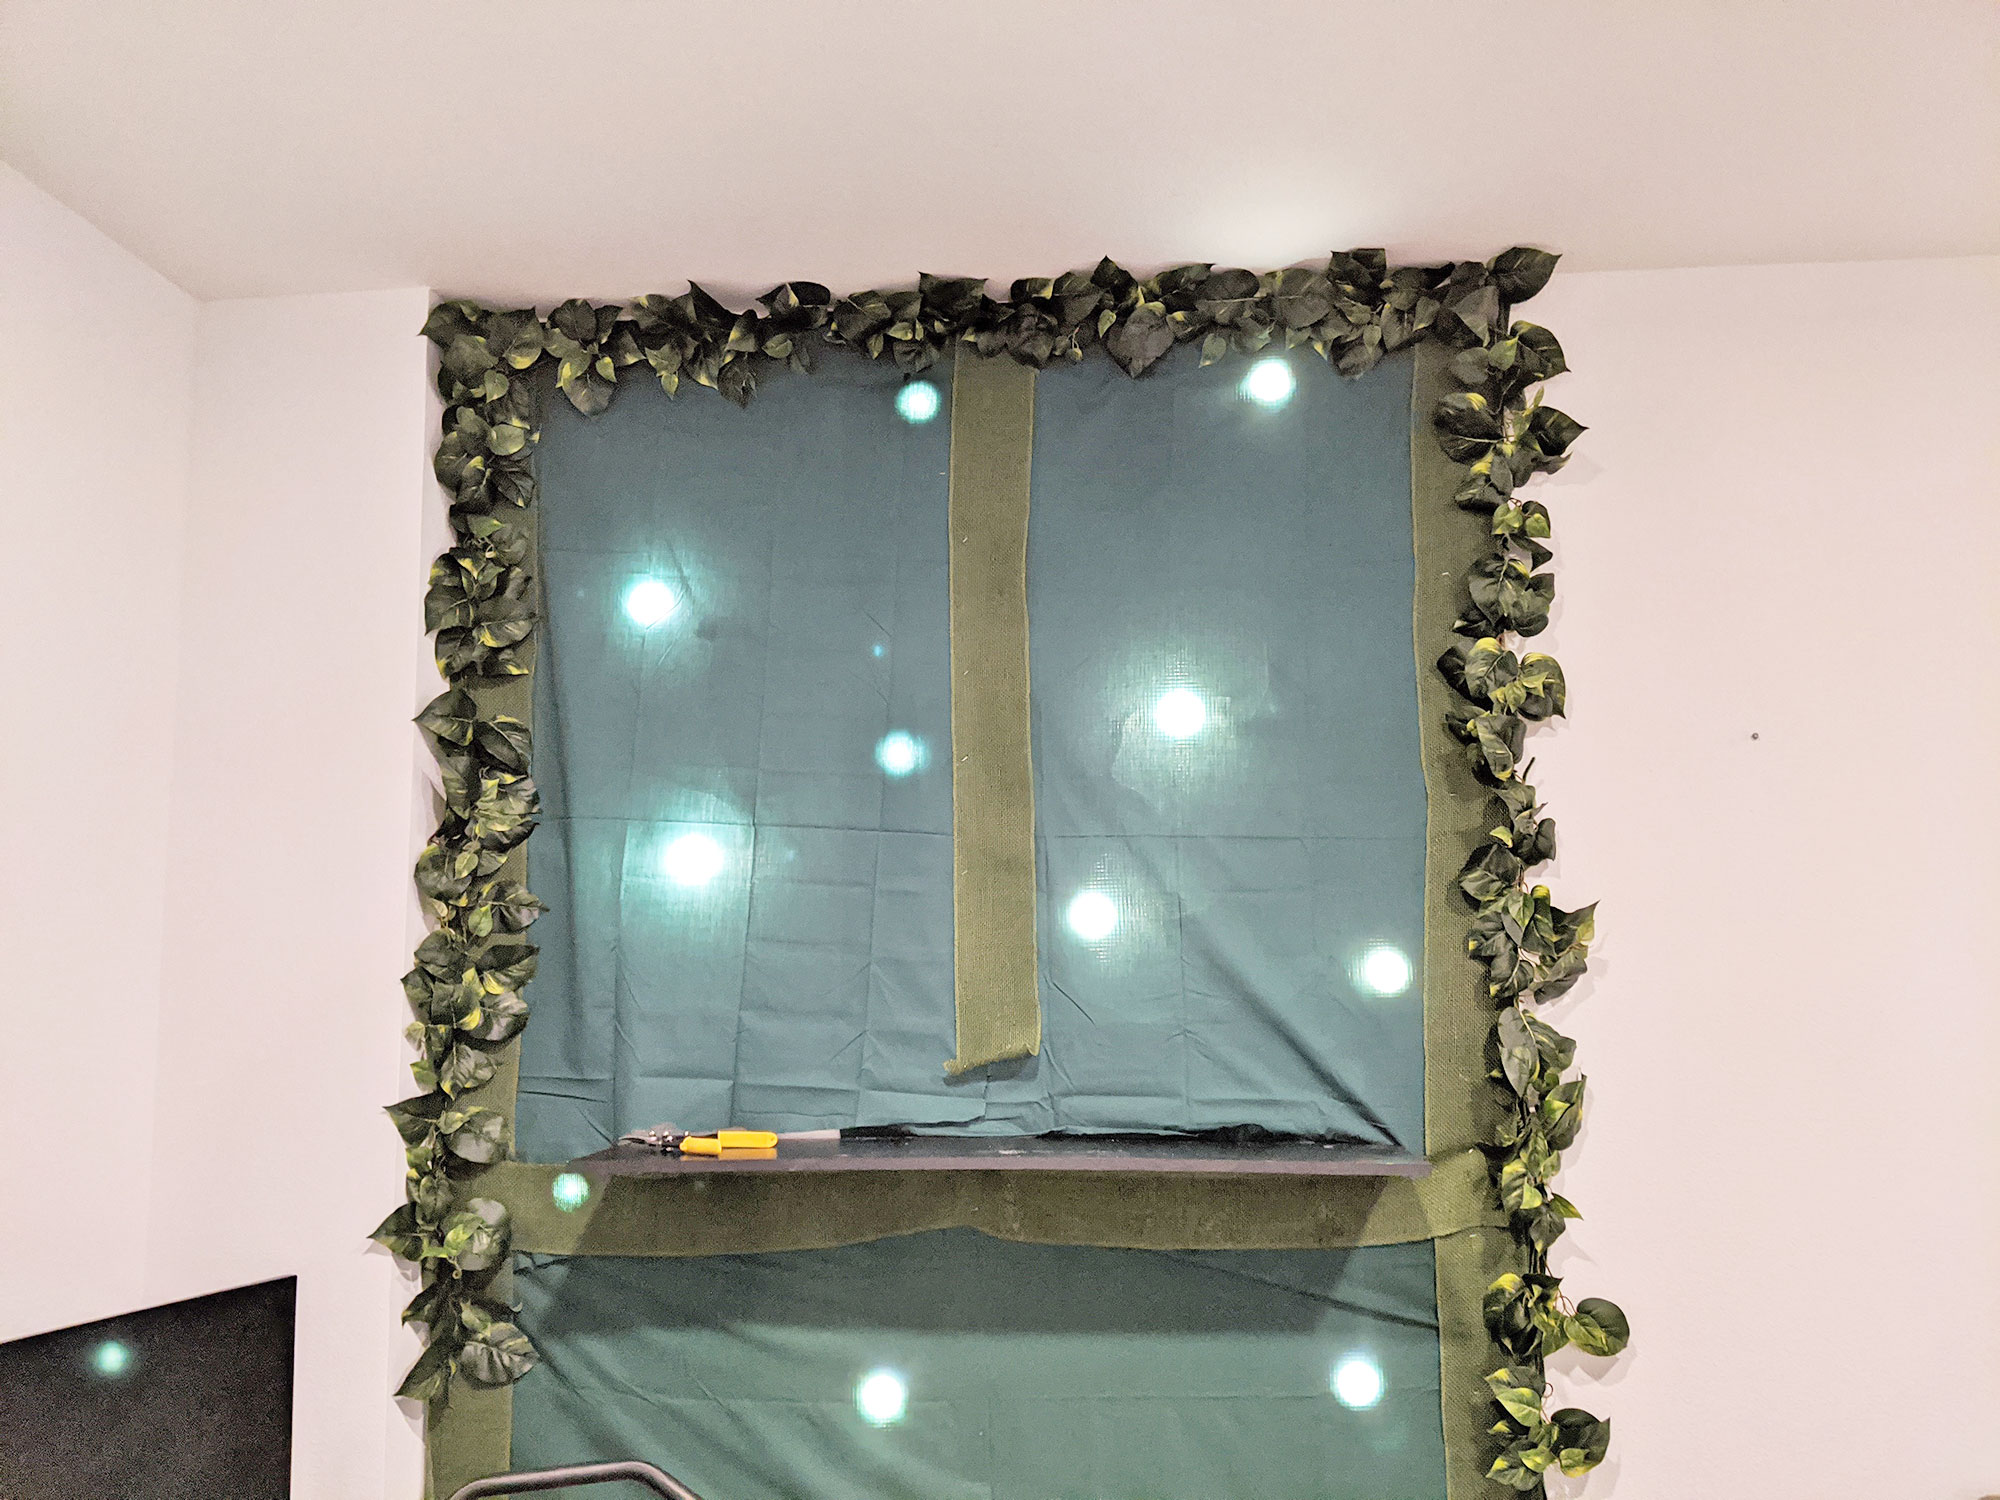
Installing a faux green wall – start from the edges and work your way in.
Step 5
Bend the plant stems at a 90 degree angle. Cut slits into the metal wiring and insert the plants. Be careful not to cut into any of the puck lighting wires.
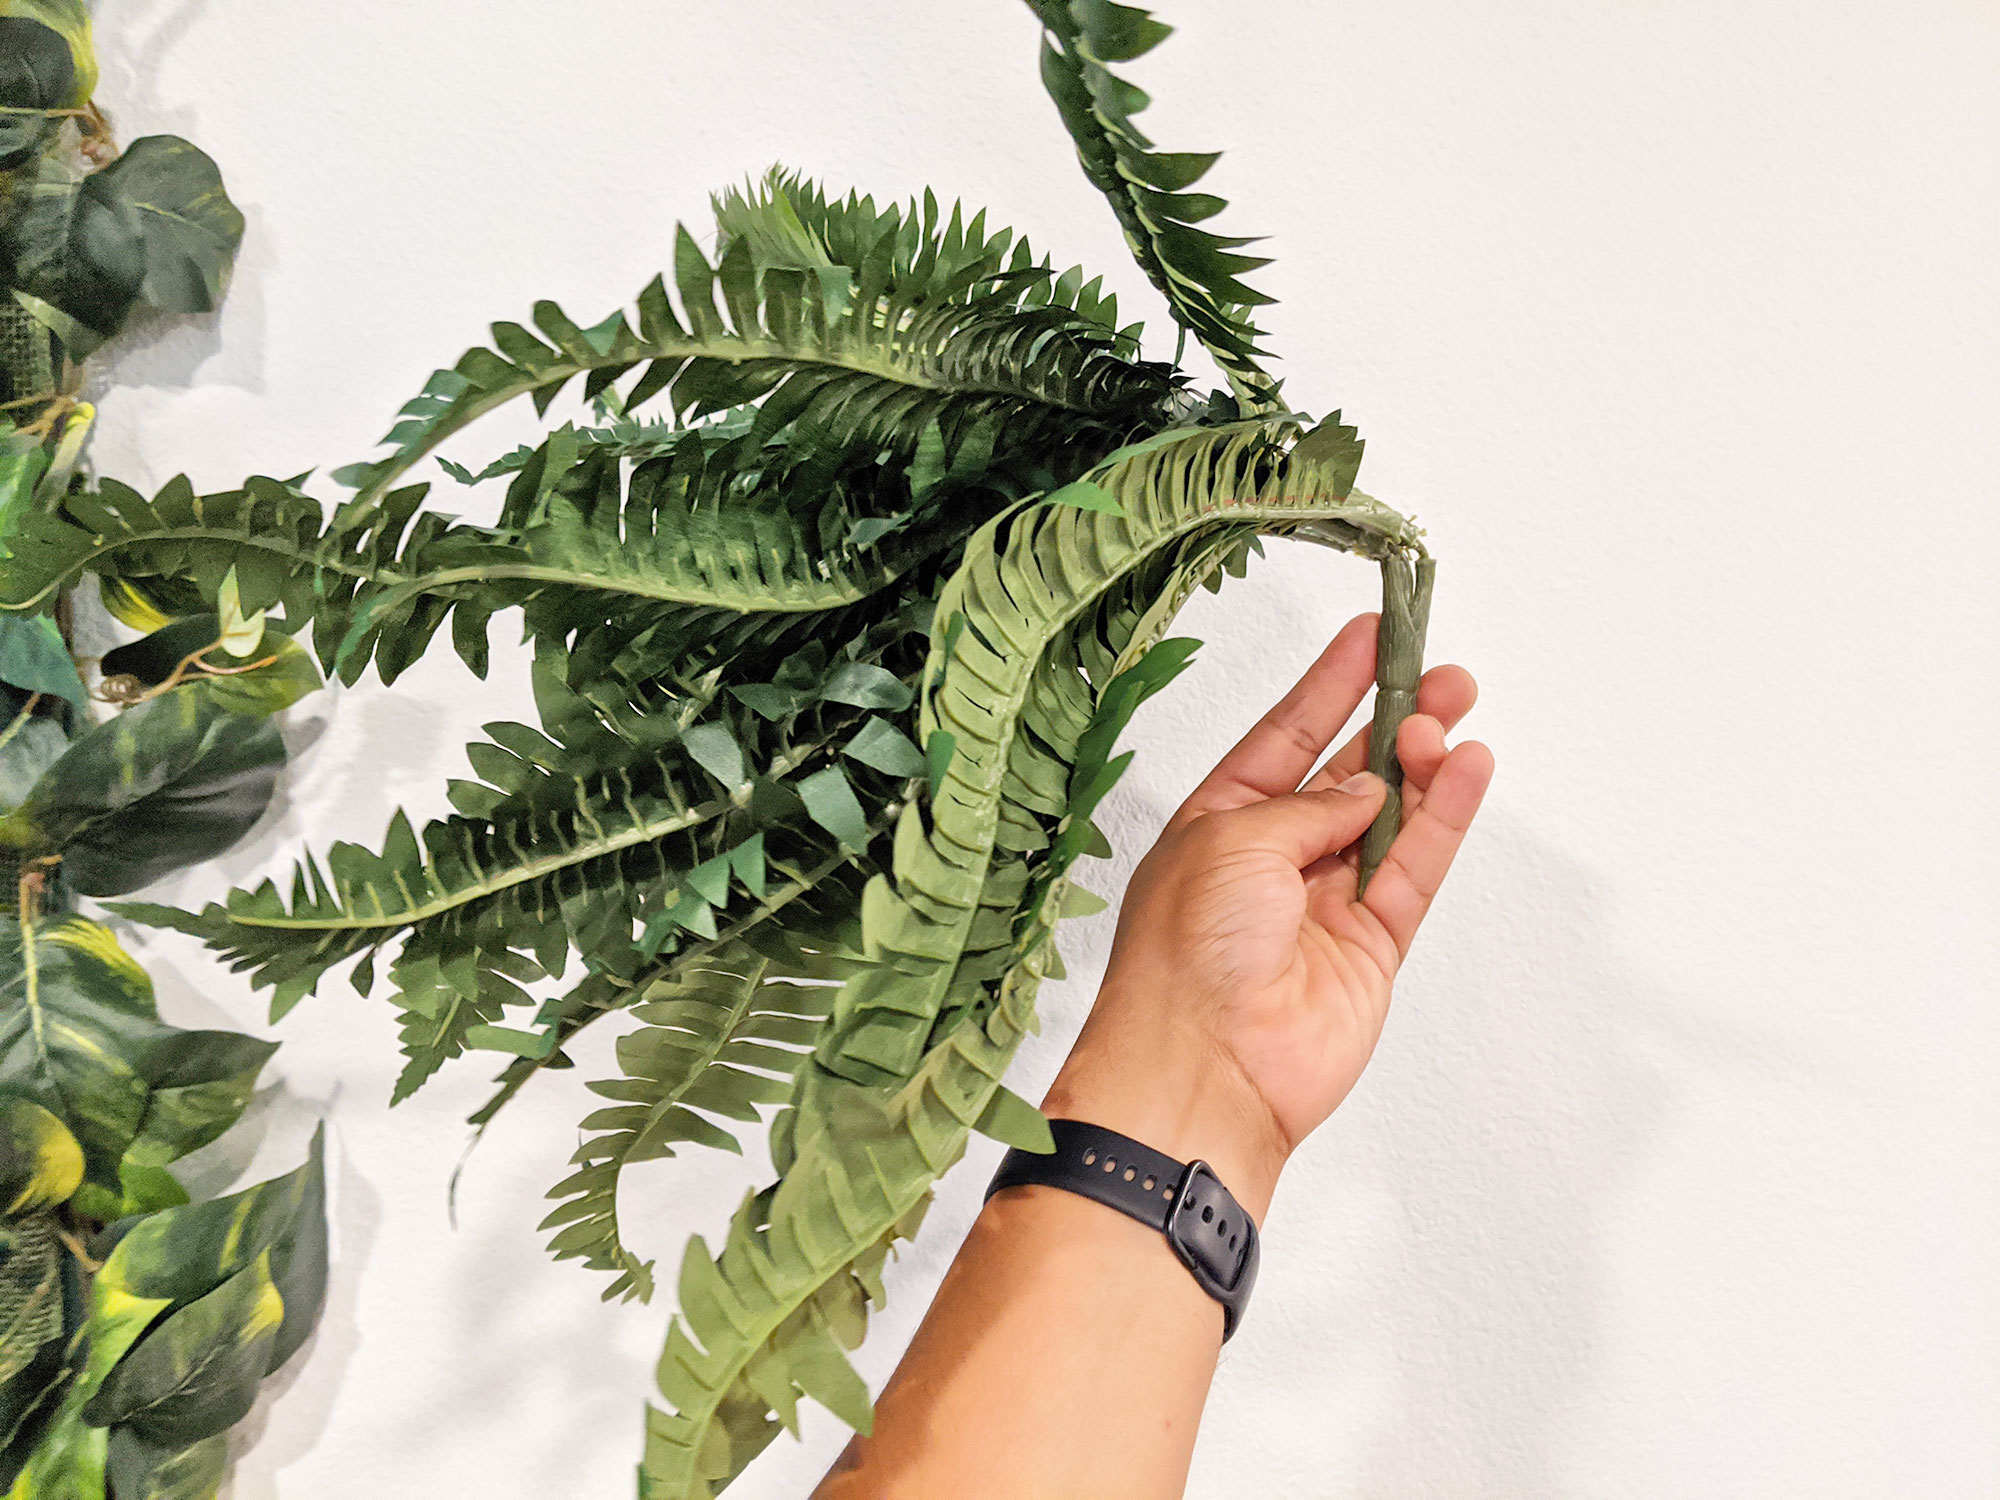
Be sure to bend the fake plant stems at a 90 degree angle.
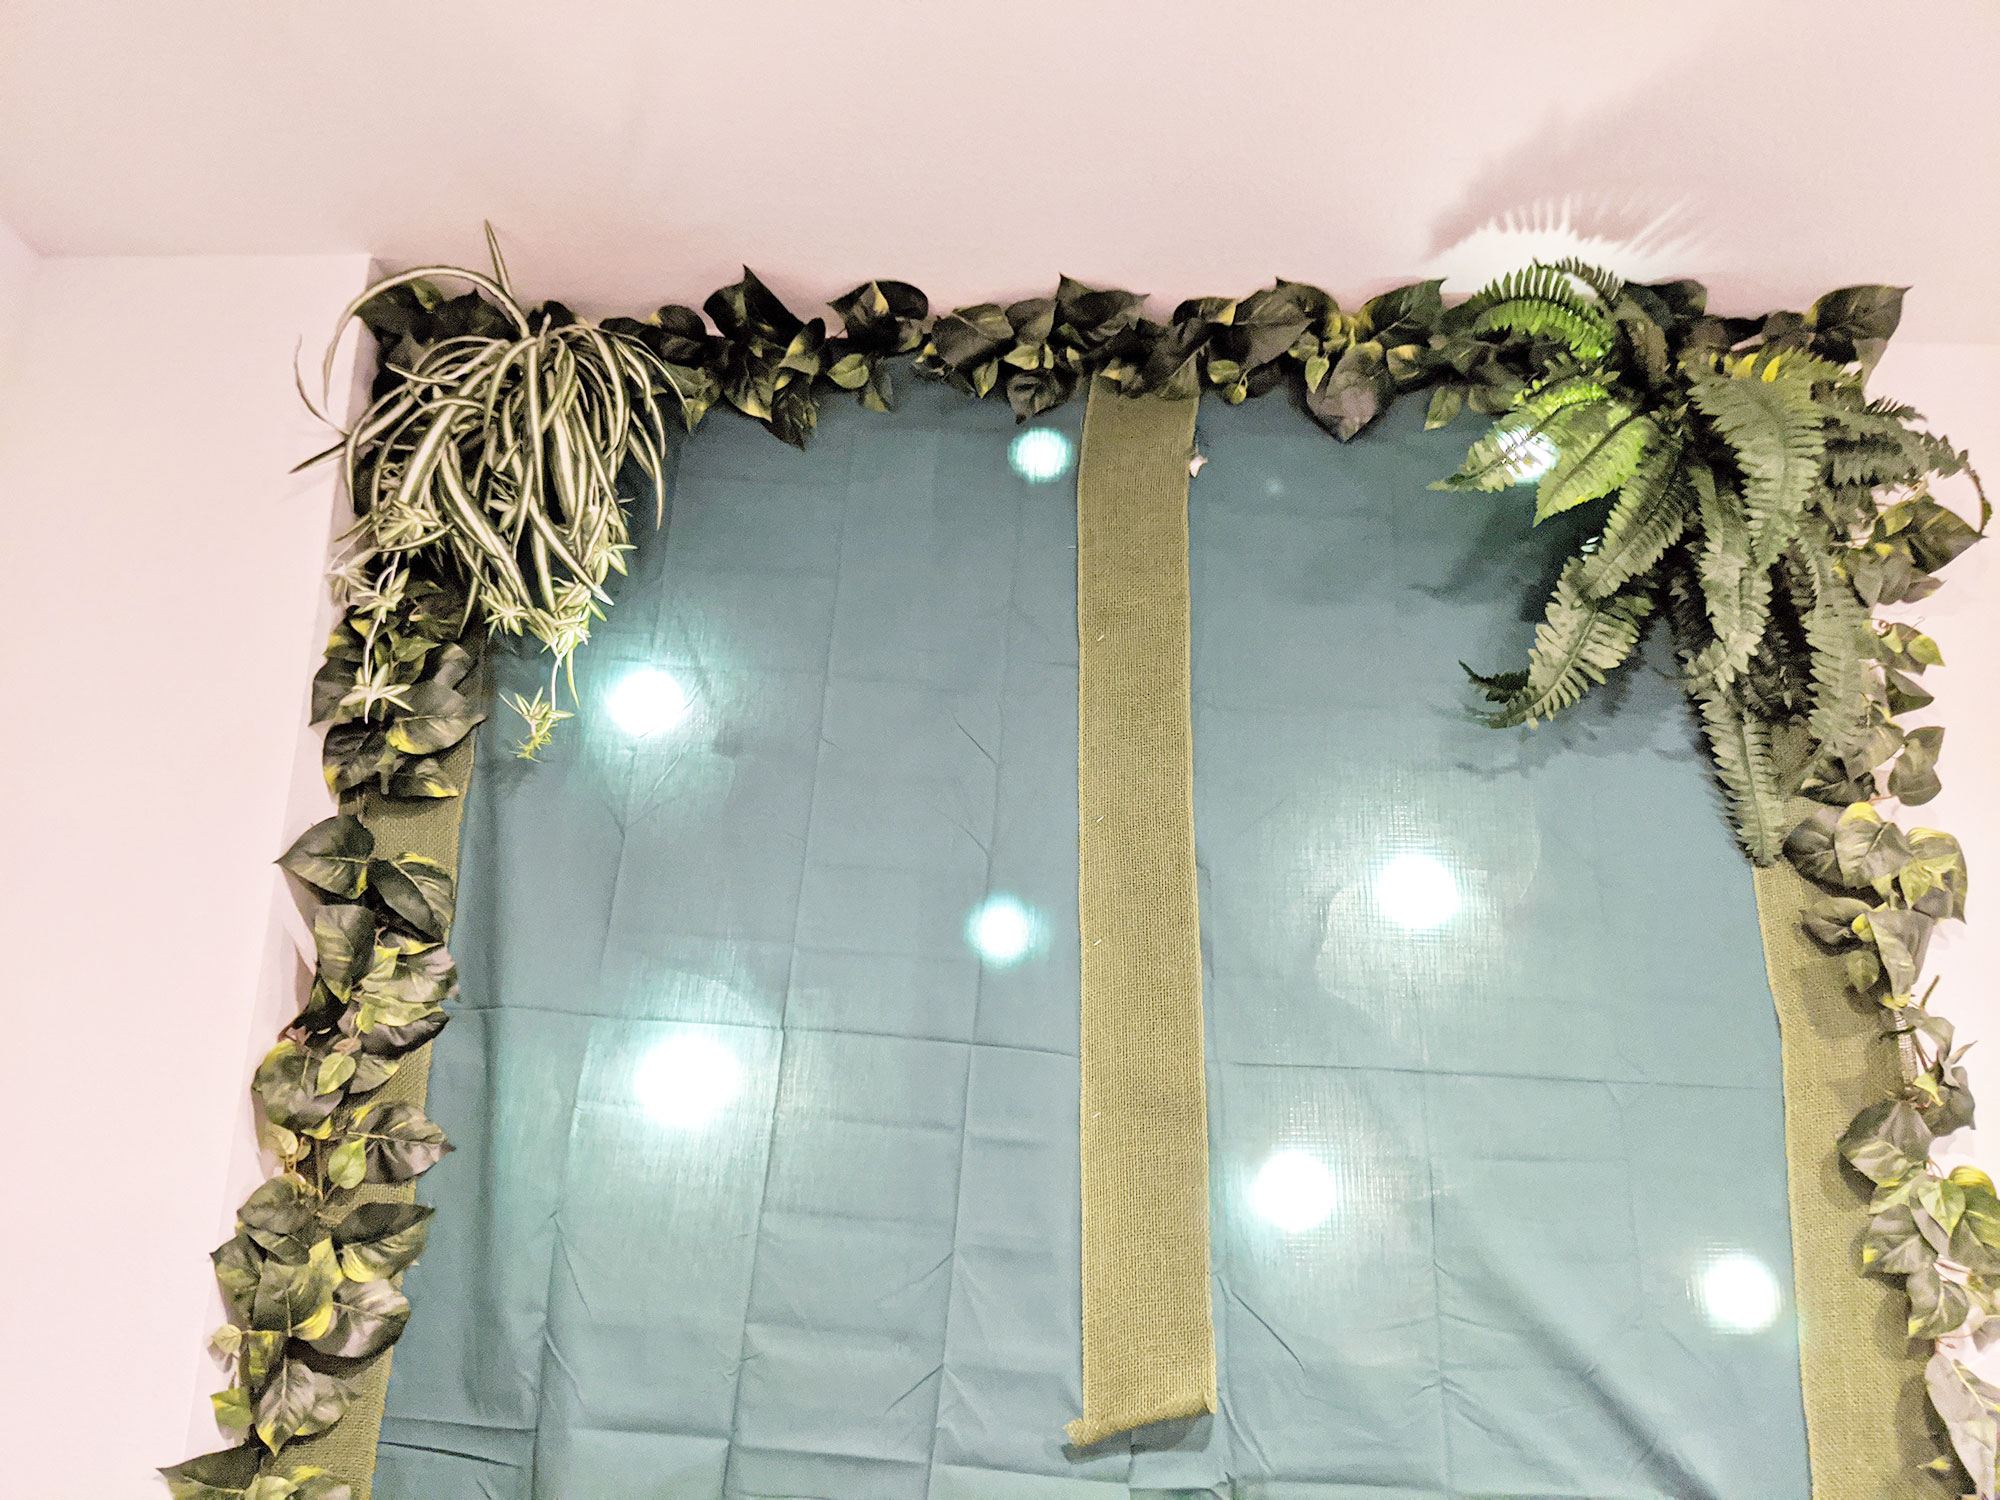
Installing the faux green wall – start from the edges.
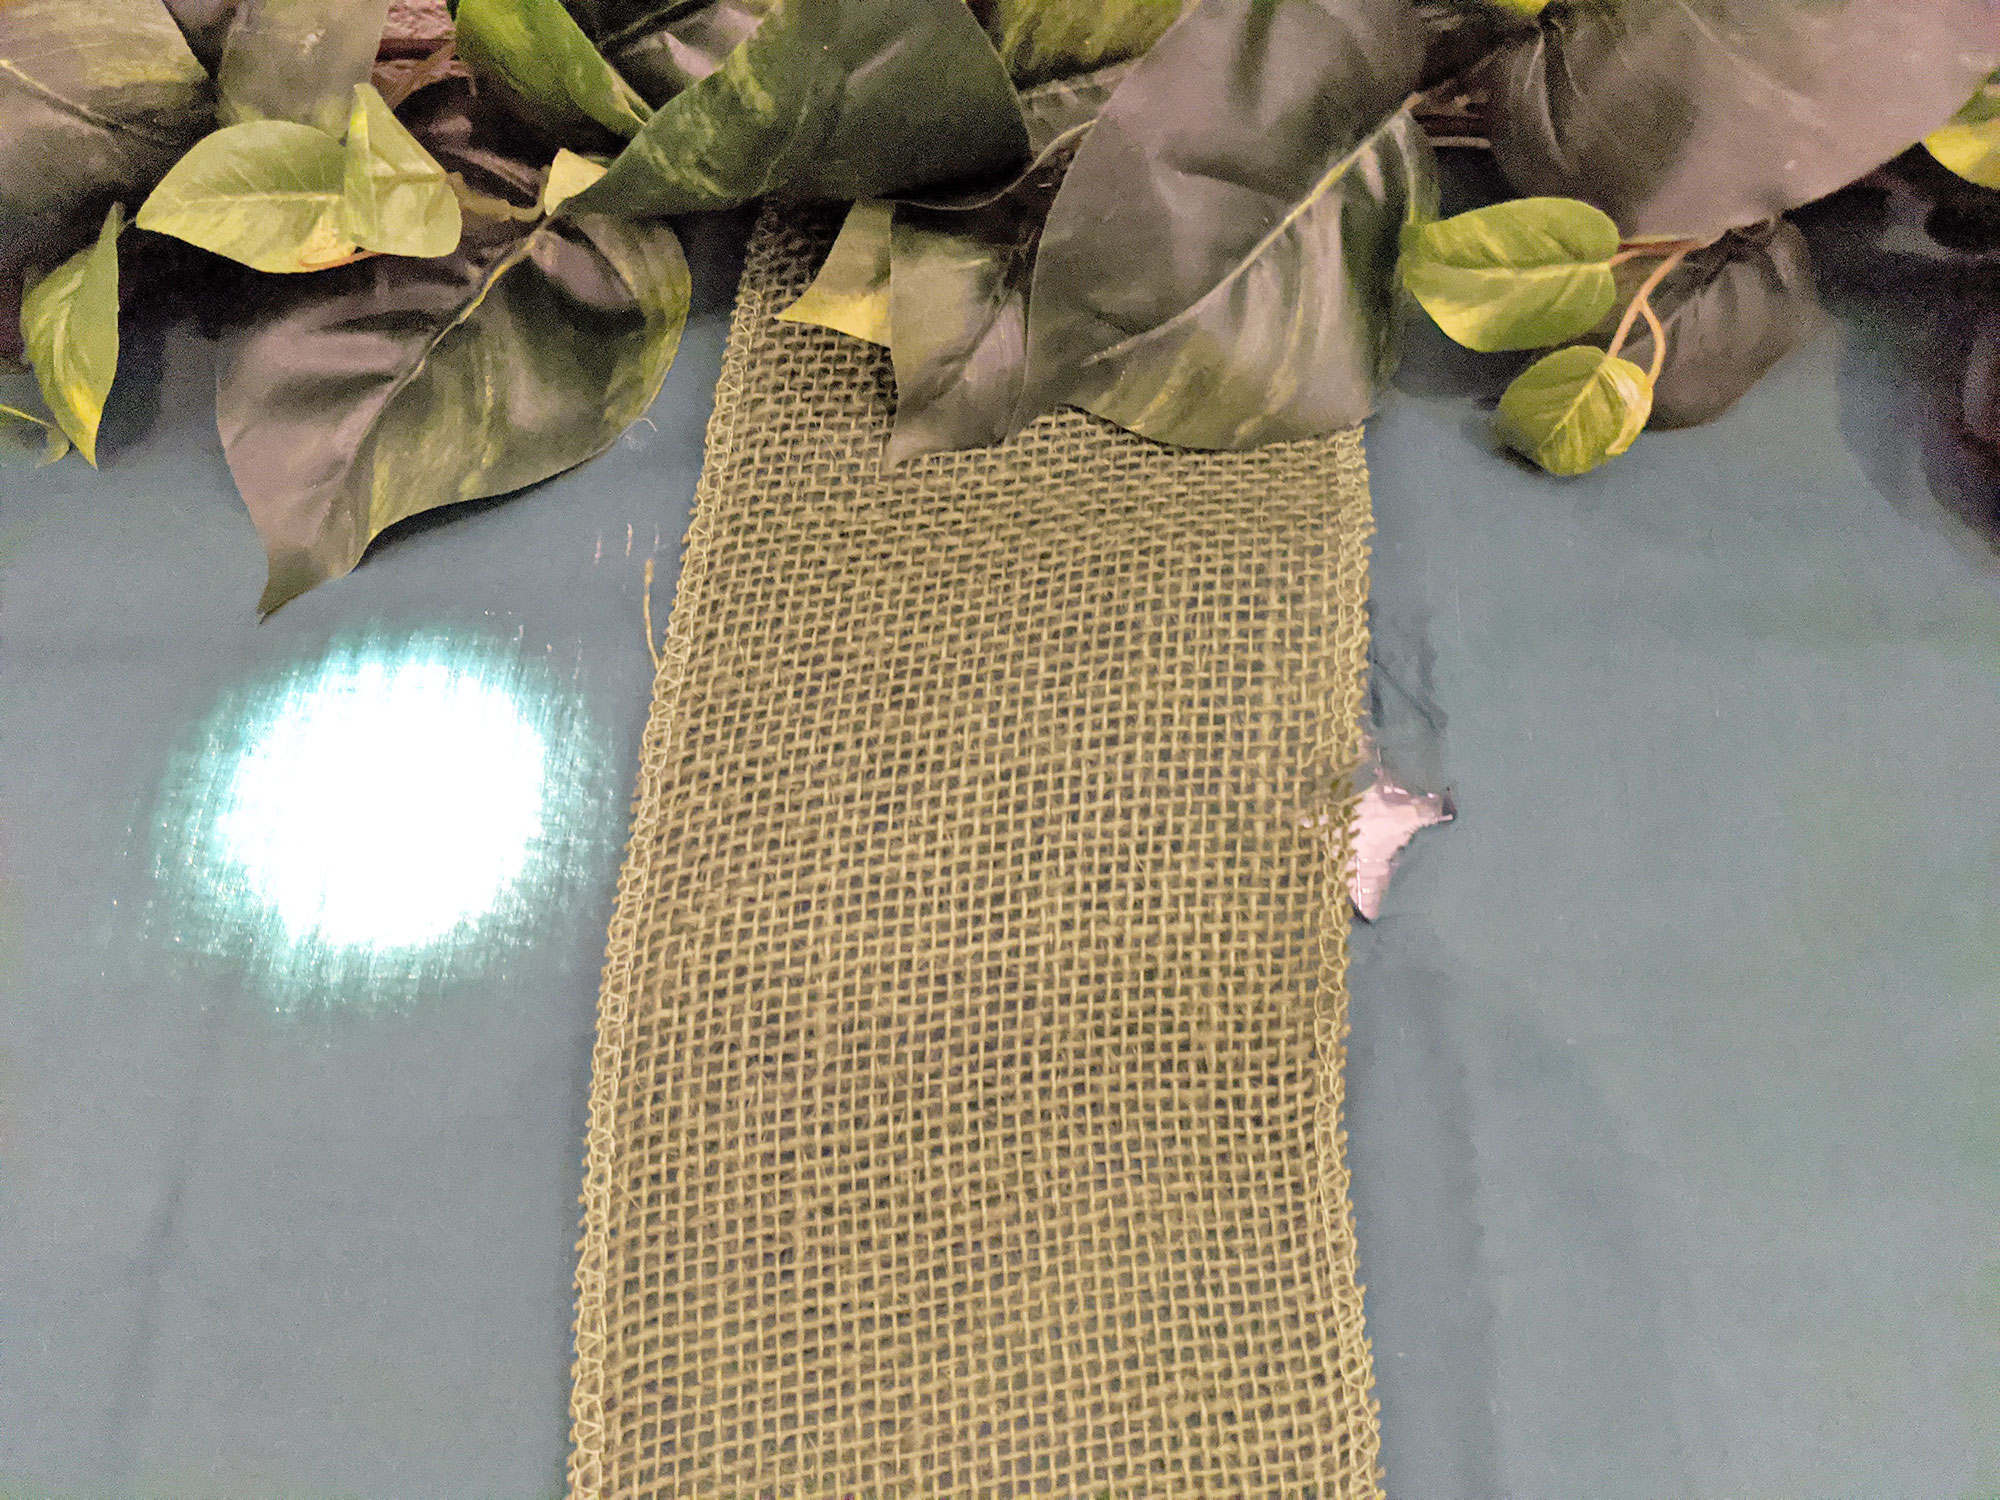
Cut slits in the fabric and metal wires to insert the plants.
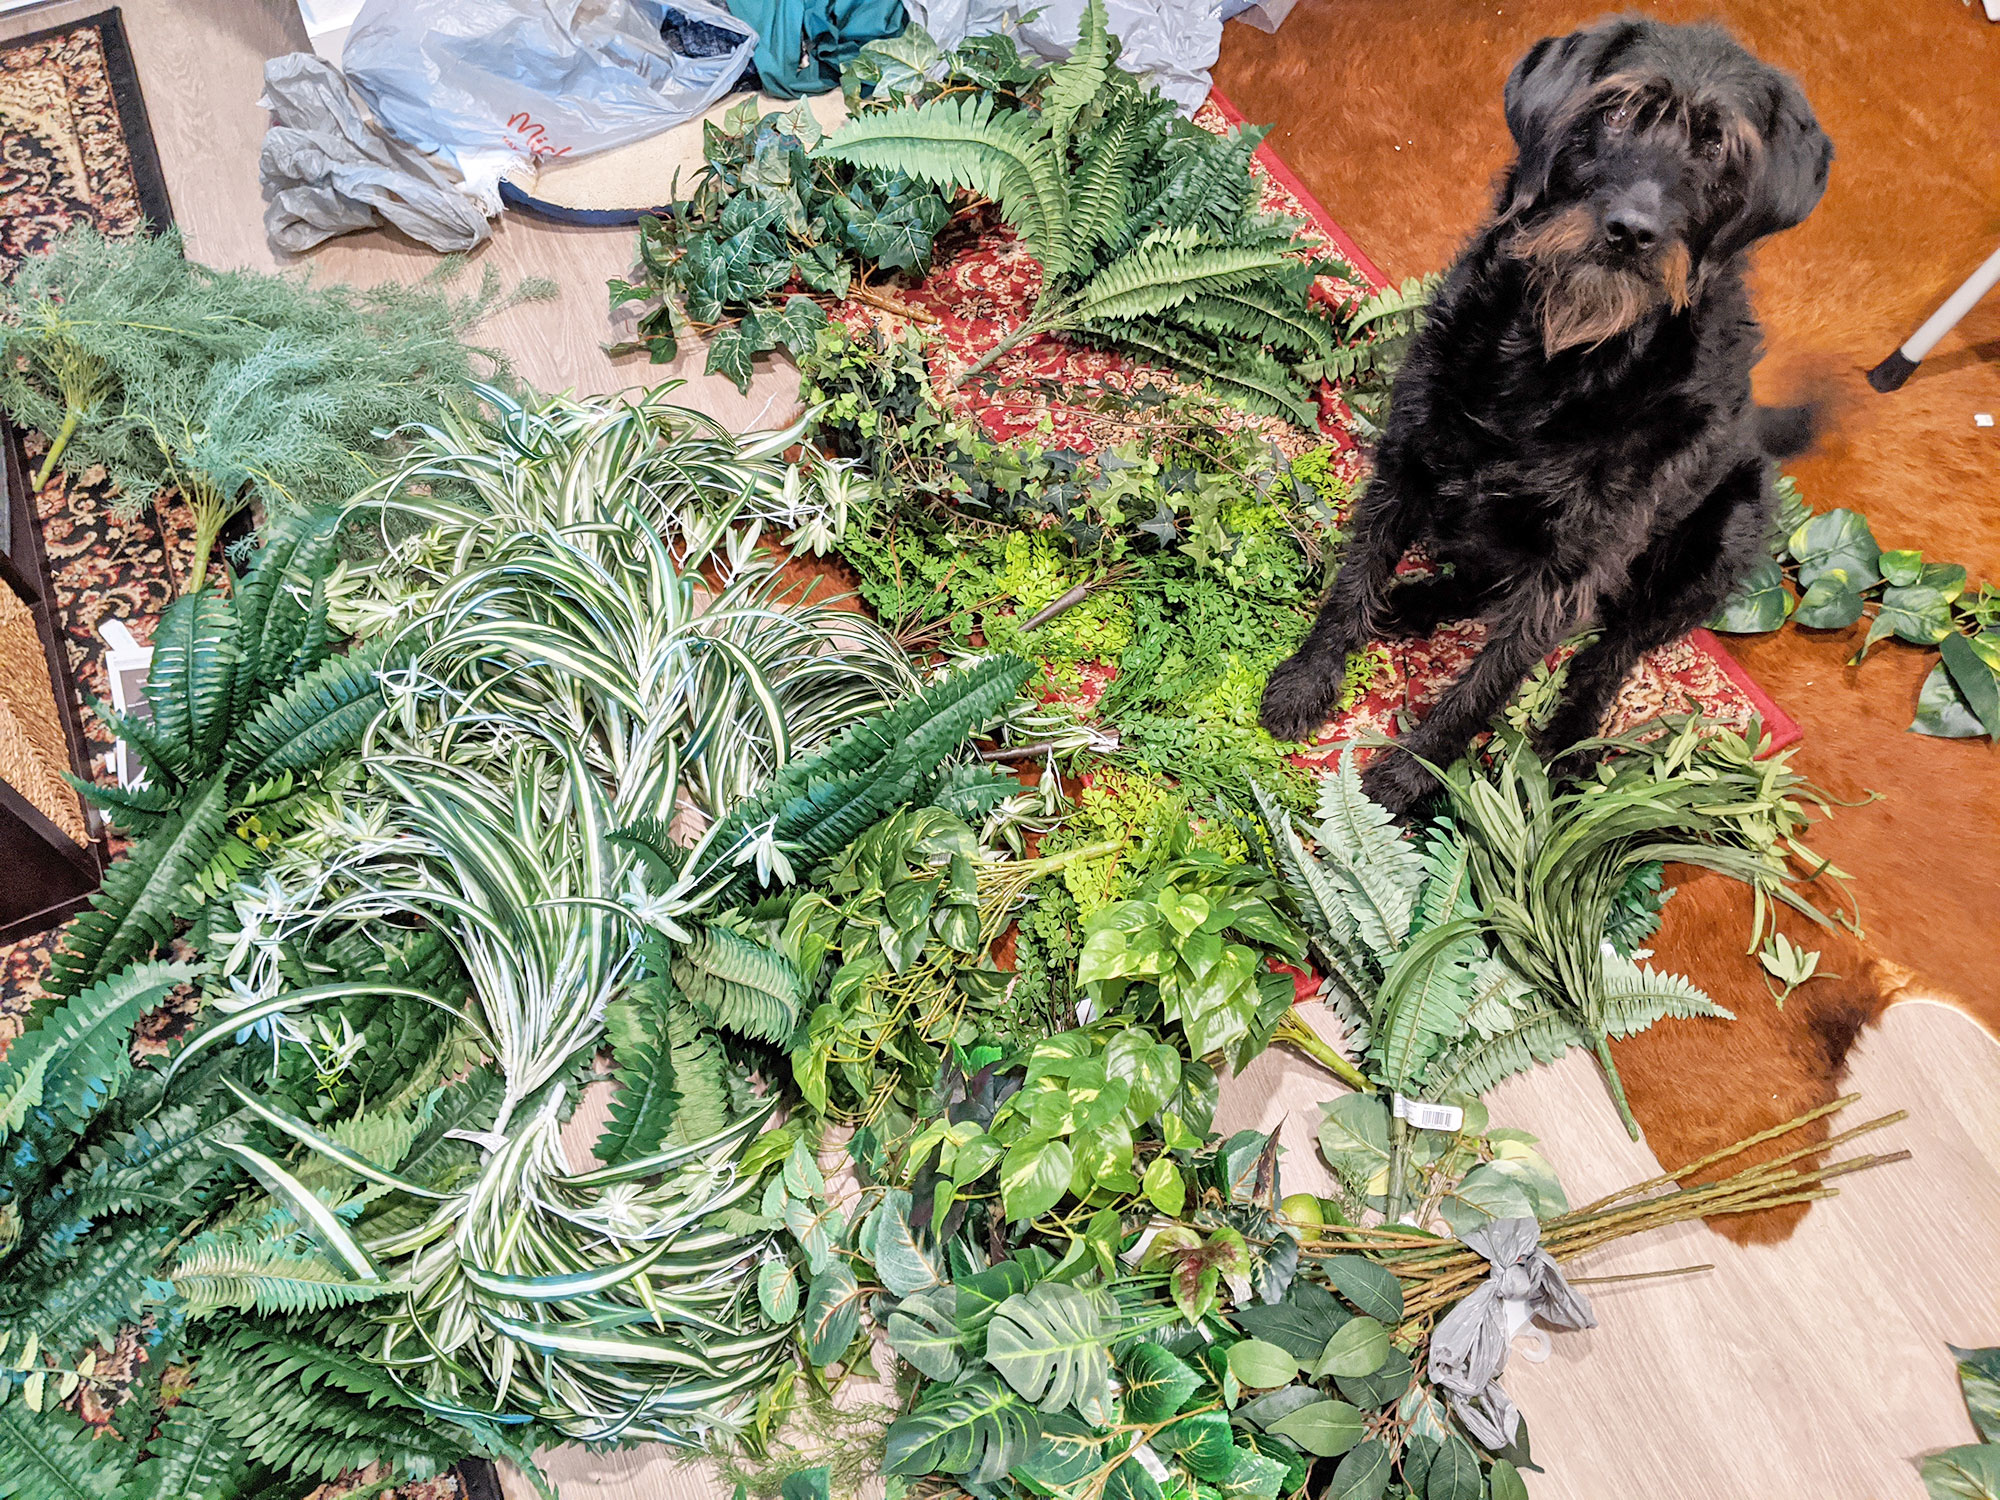
Ingrid the labradoodle looking very confused by the amount of faux green plants in the apartment.
Start with the edges and then fill in your frame with the larger fake plants. It’ll take some jushing, but it’ll work out.
Remember not waste time on areas that are going to hidden with monitors or furniture. Also trust that the dark green cloth will make it unnecessary to cover every inch of the wall. As a final step, I cut the green fabric around the puck lights to make them brighter.
I felt completely ridiculous when buying the plants from Michaels and even starting this project. However, I am thrilled with the result and very happy that I took the risk.
Let me know if you try this at home!
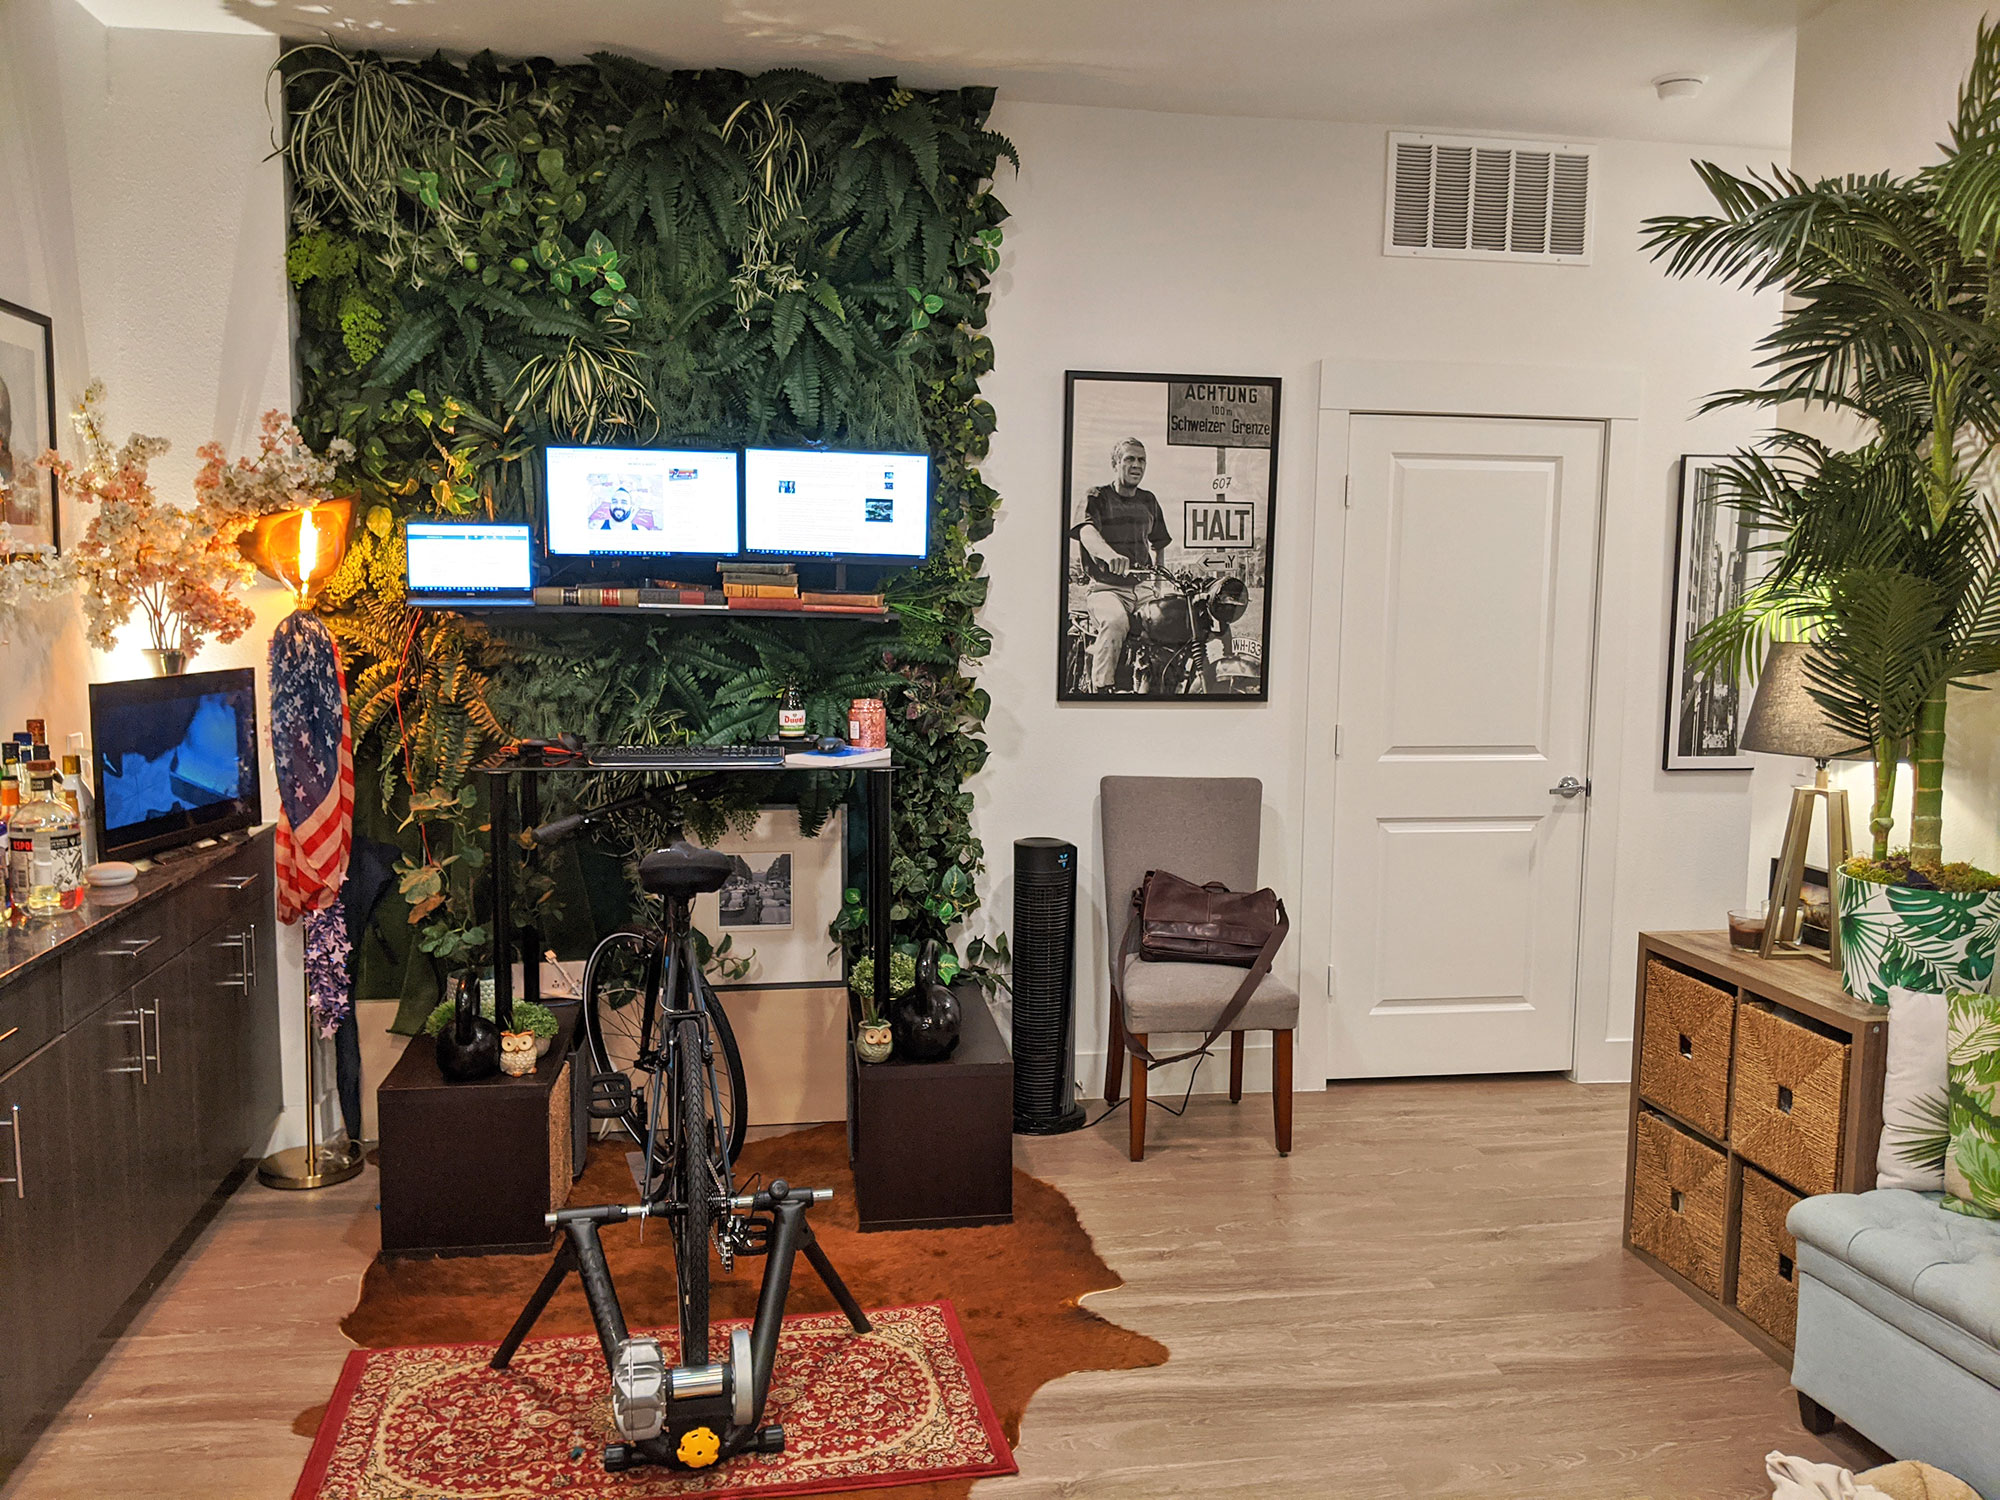
The finished green wall and biking desk.
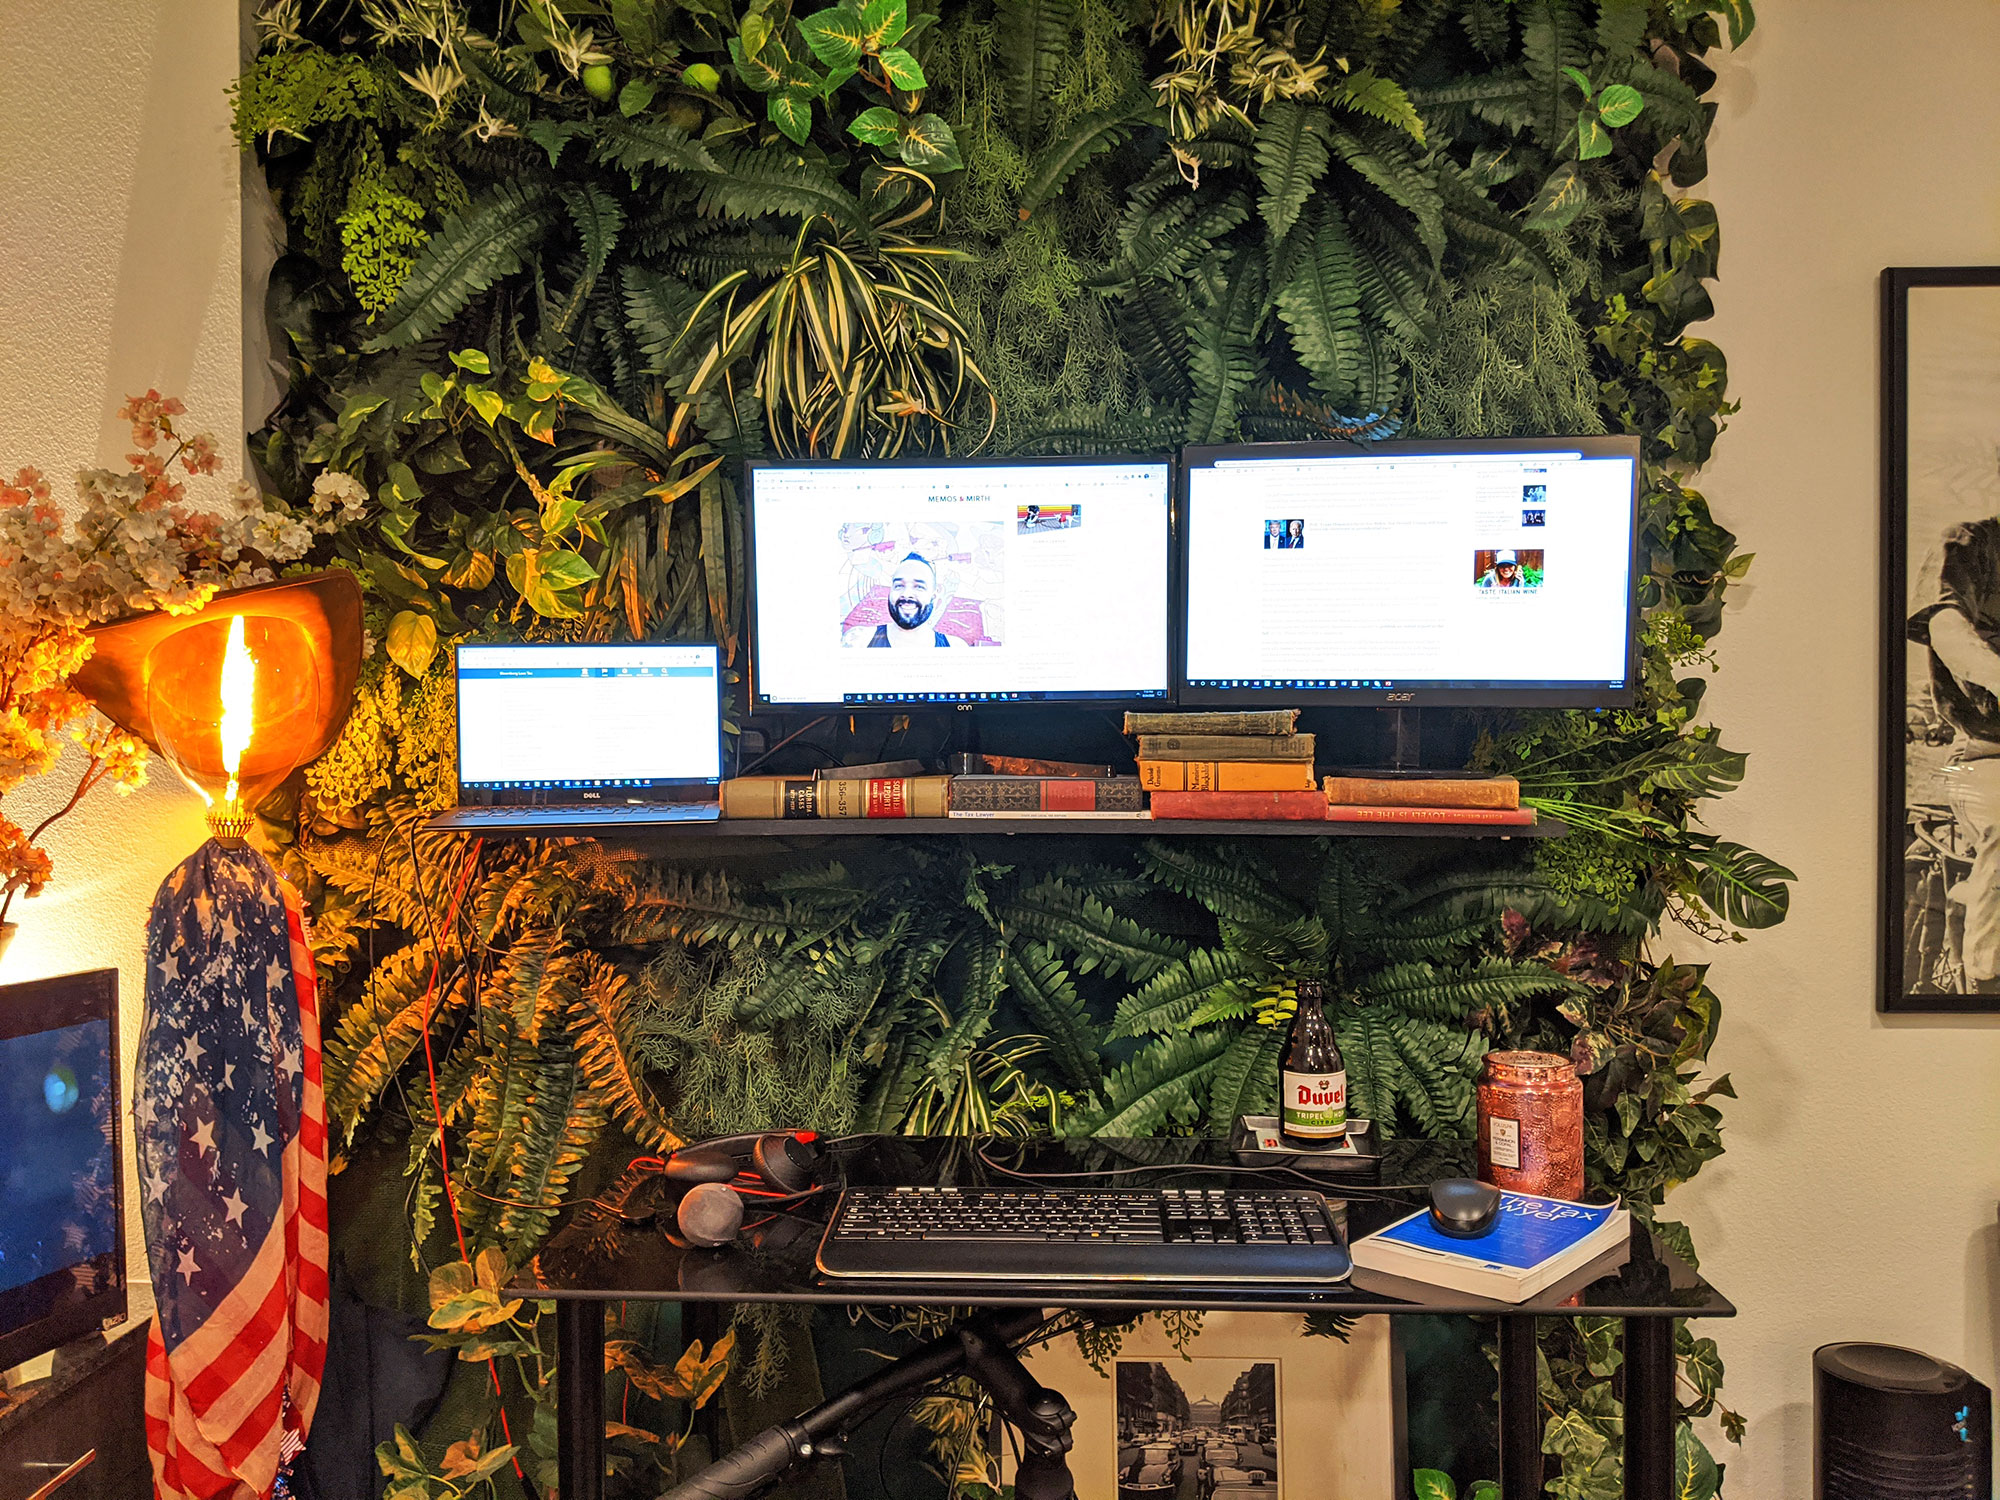
The finished green wall and biking desk.
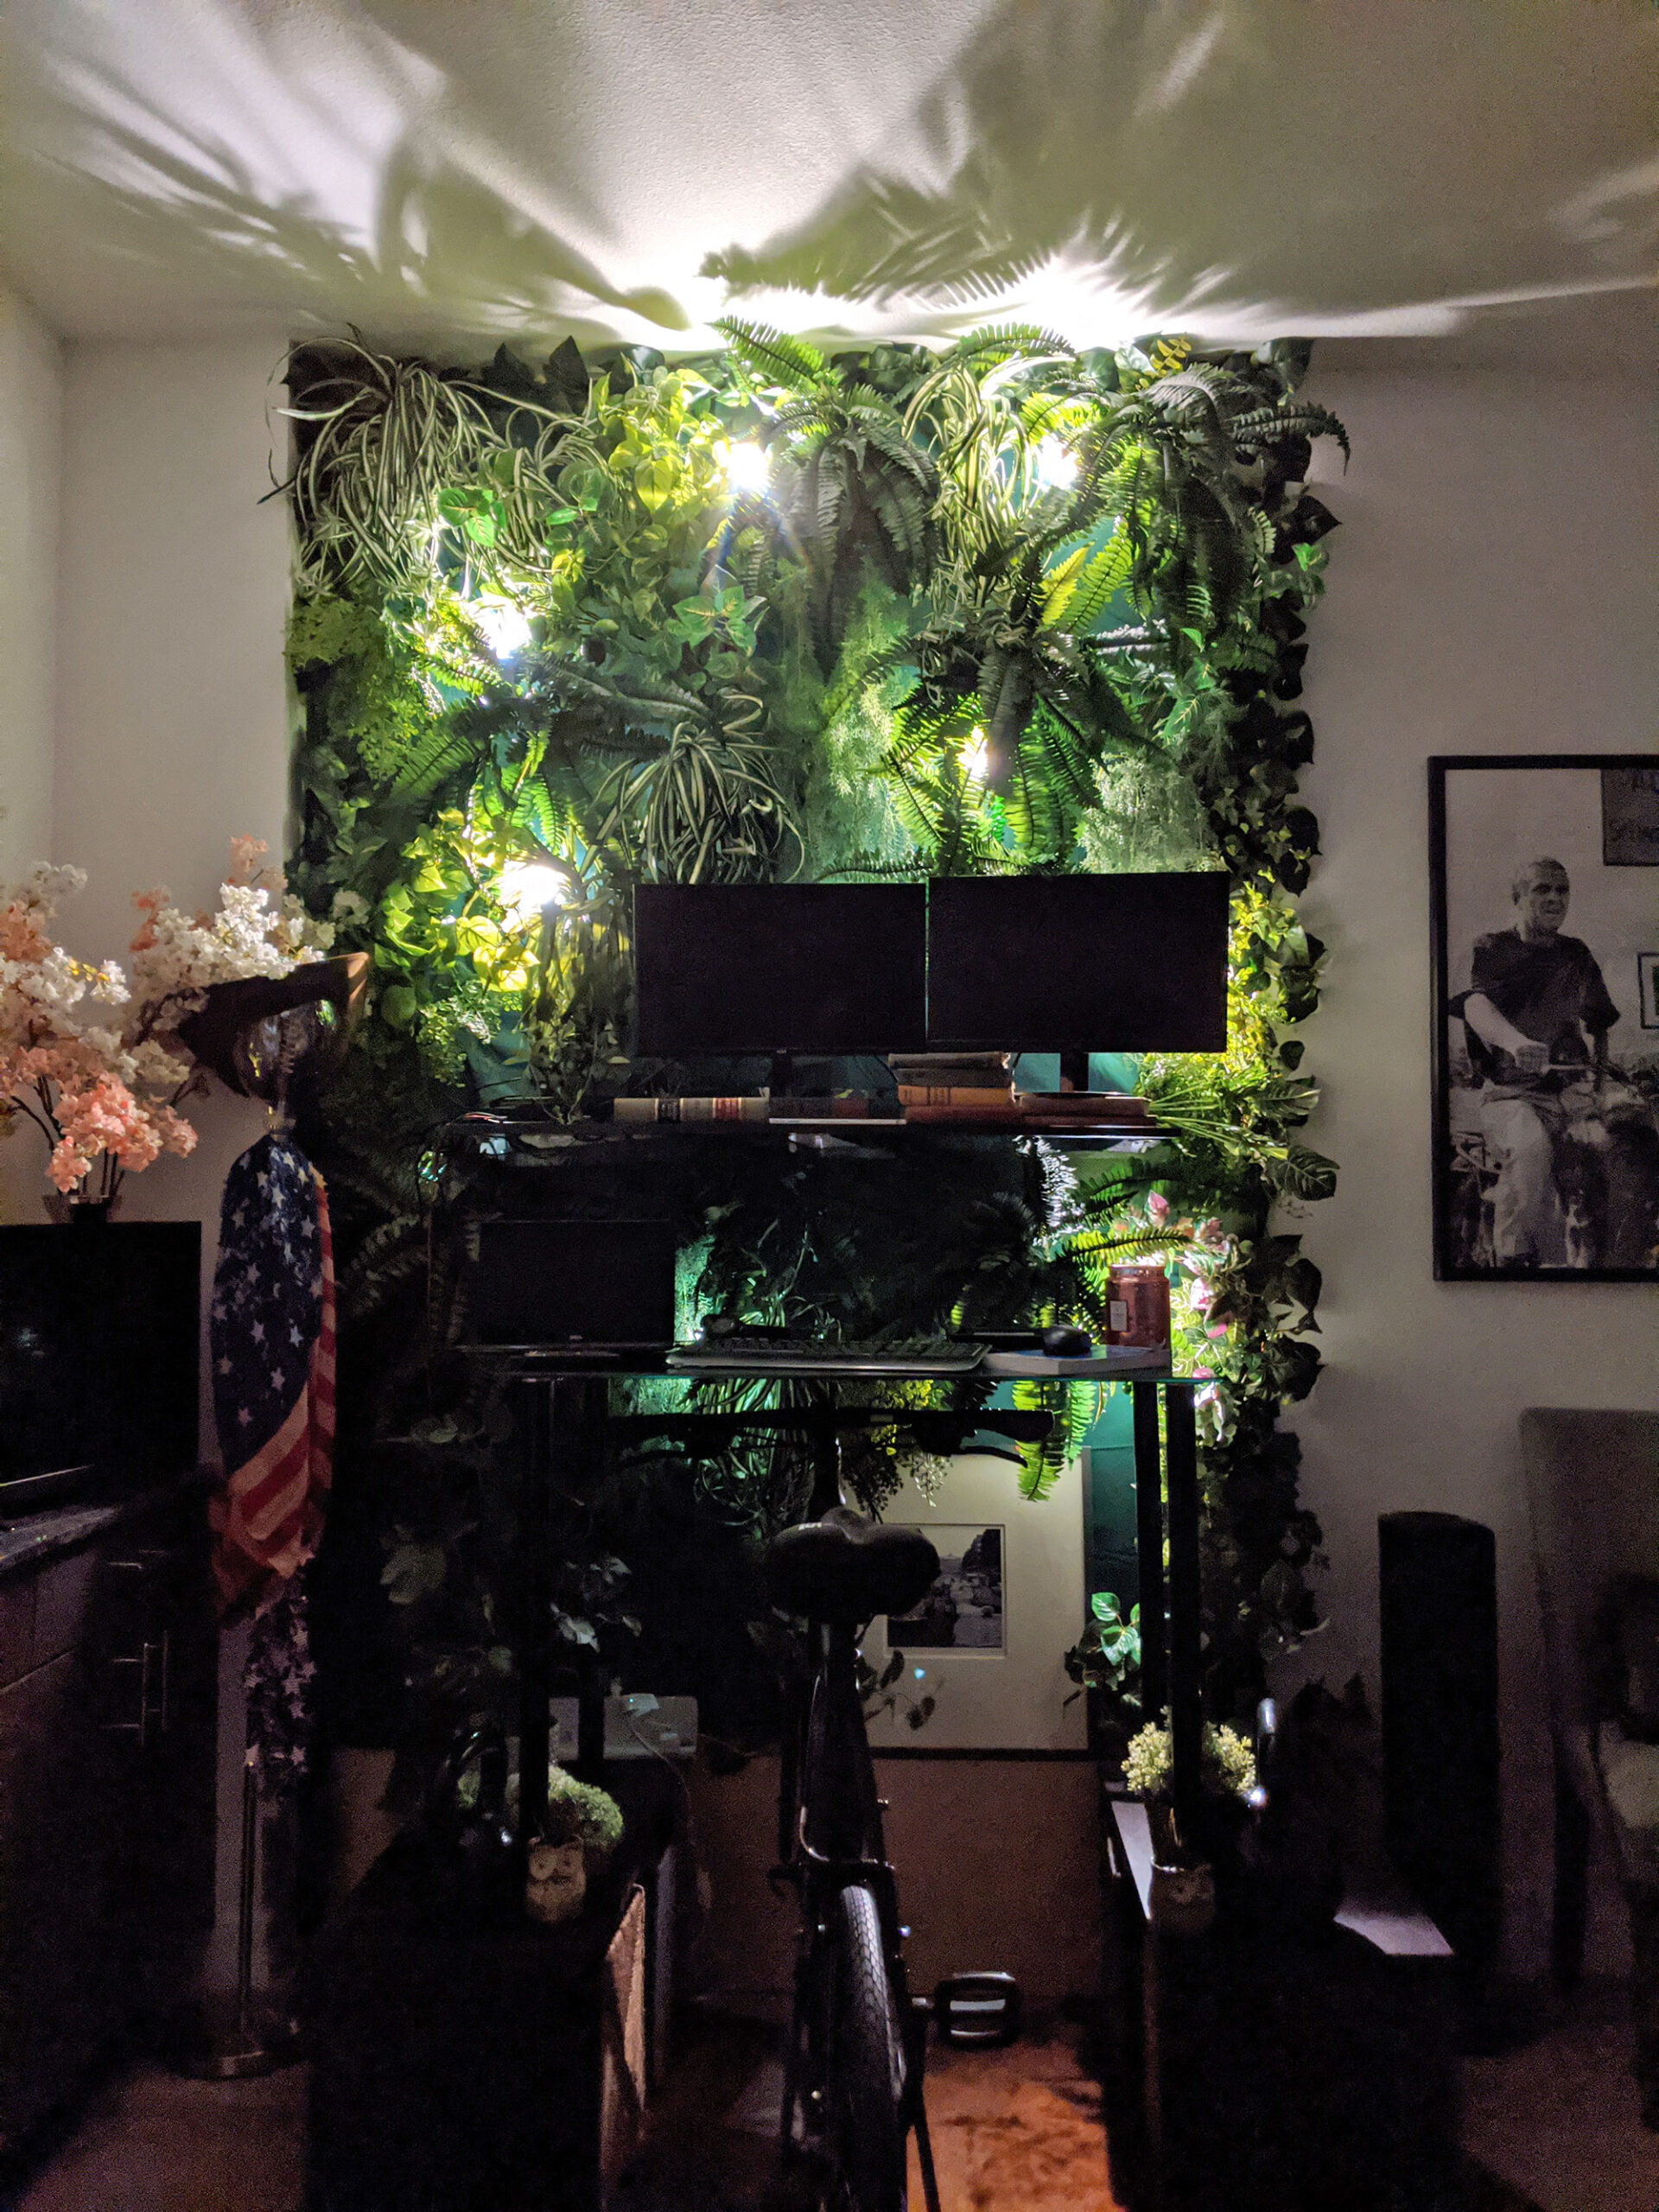
The biking green wall.
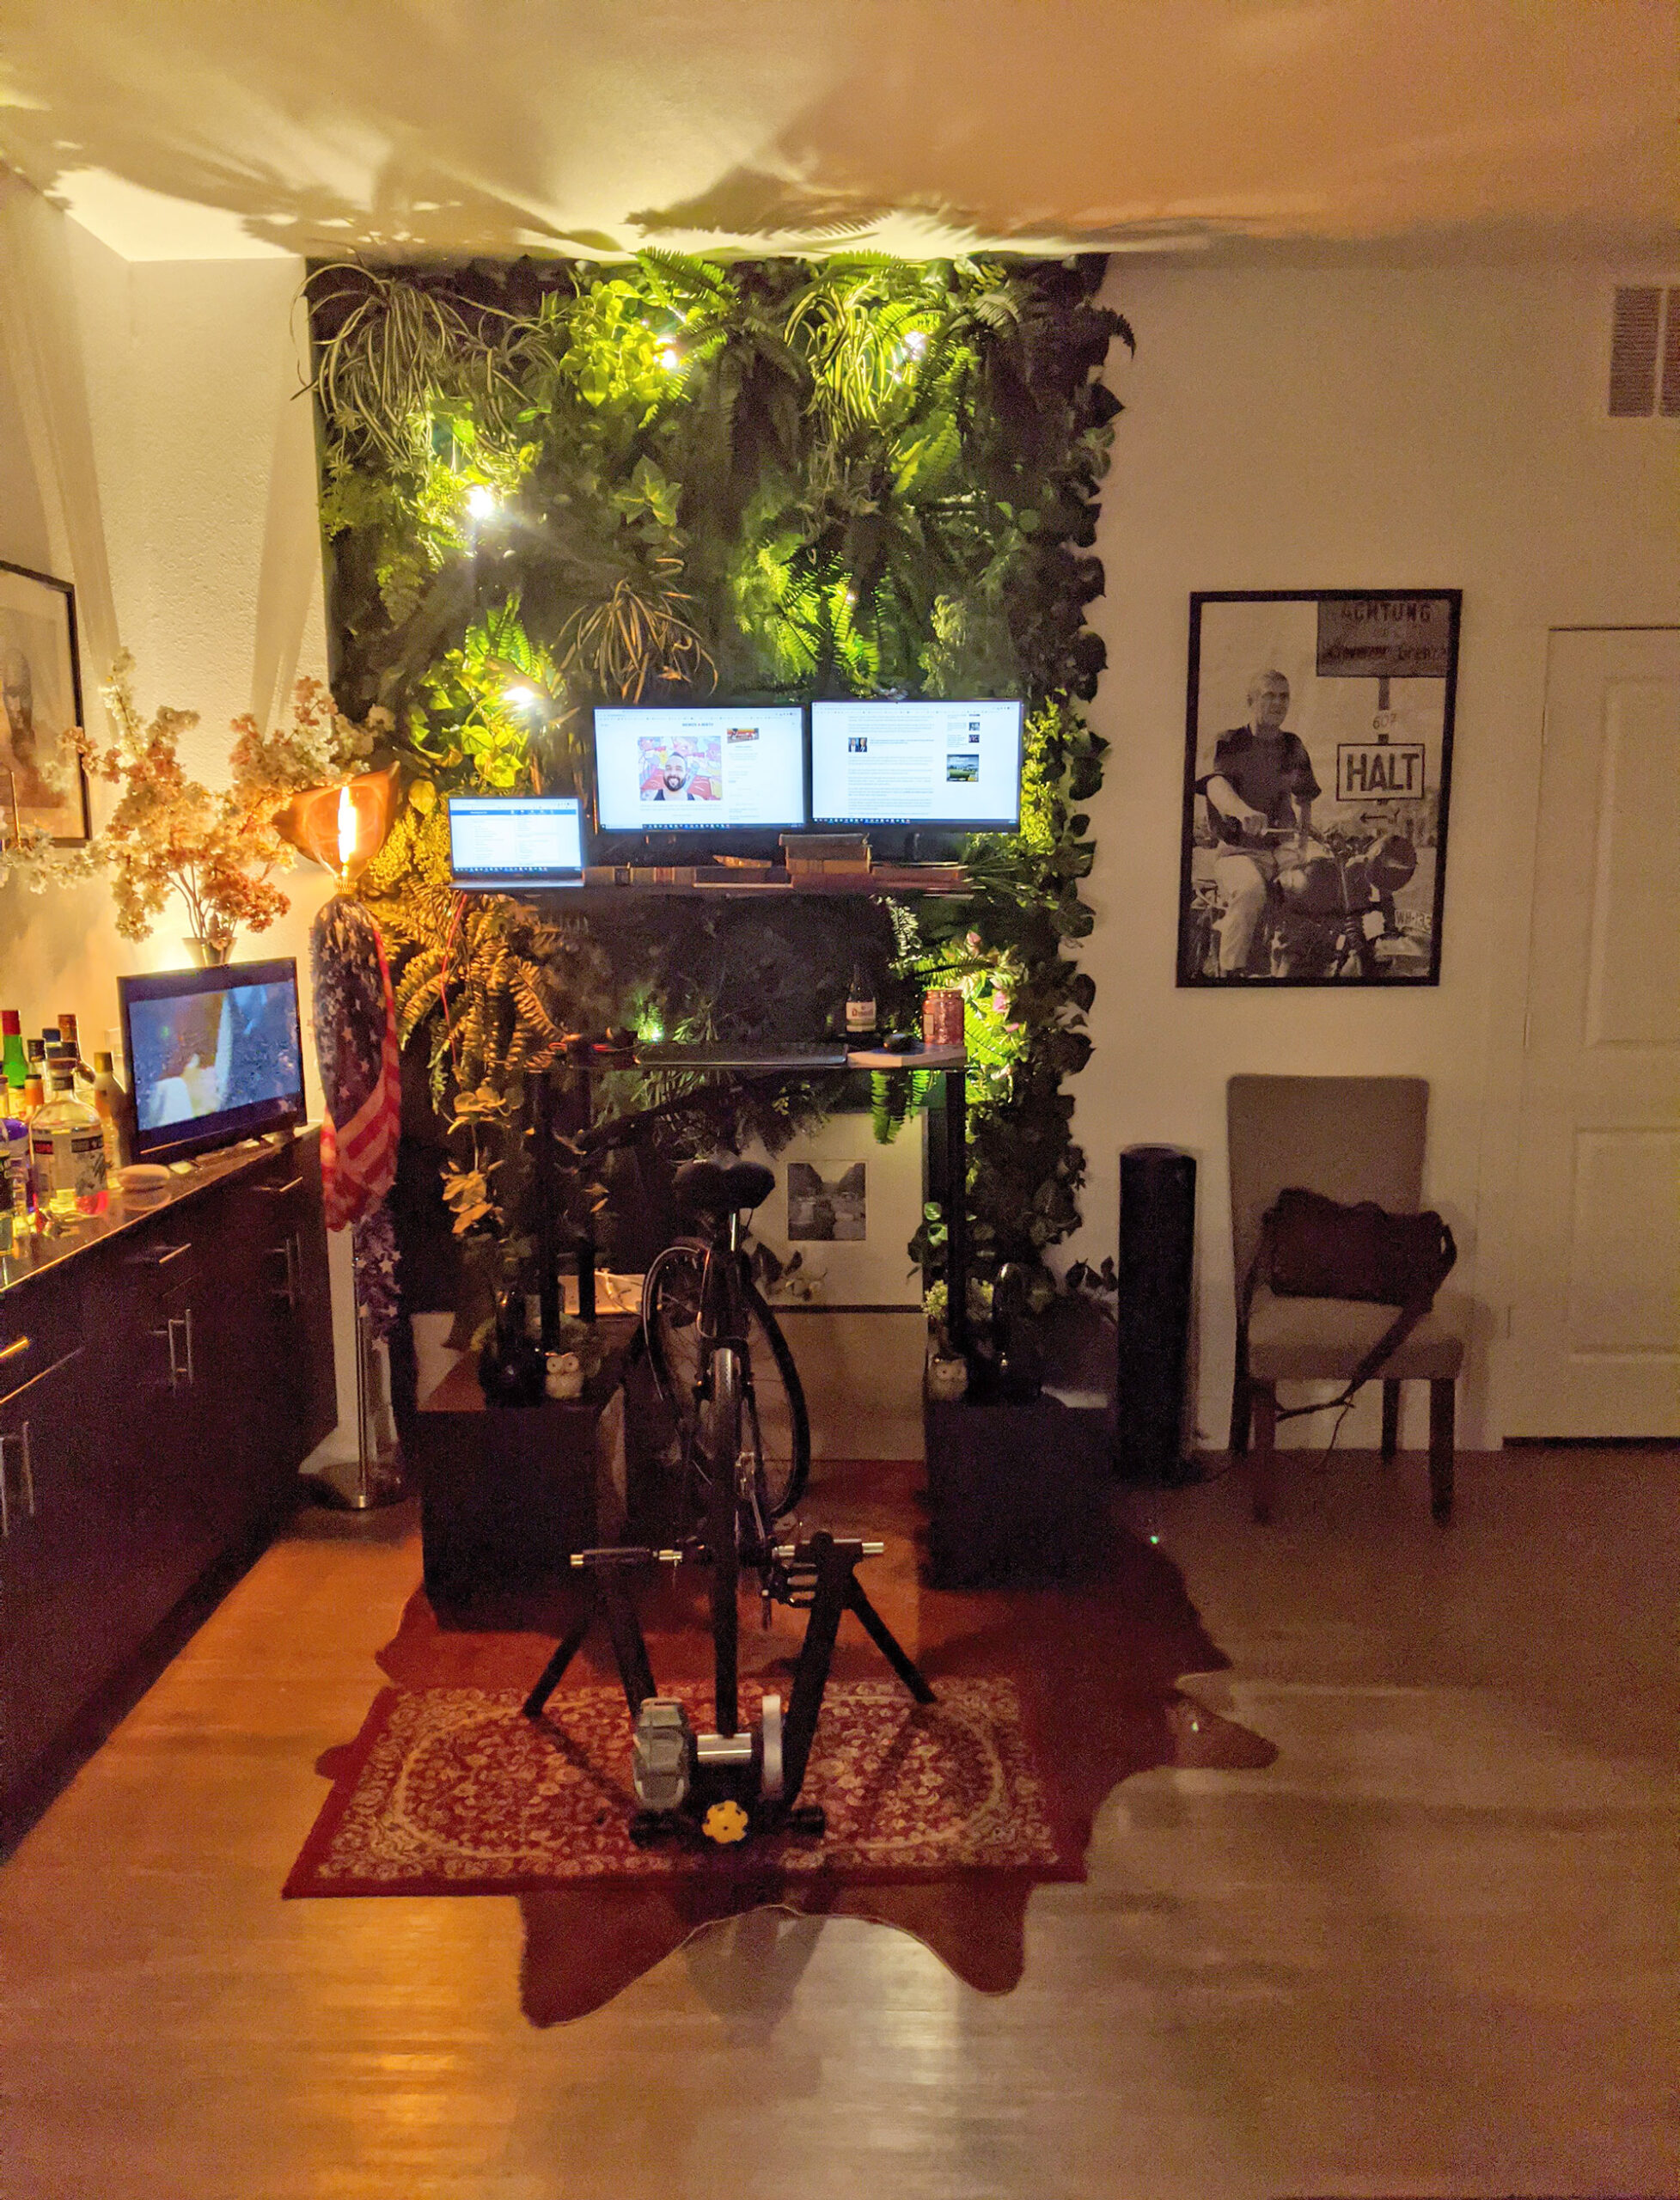
The faux green wall and biking desk.


No Comments