
I have used Microsoft OneNote ever since the program came pre-installed on my crappy law school laptop 10 years ago.
OneNote is easily my favorite note-taking app and I assumed that all law students of a certain age used it. So it was to my horror this past semester when very few of my Georgetown LL.M. classmates even knew what OneNote was!
Here’s a very brief look at OneNote and why every law student and writer needs it.
The Basics
OneNote is a free note-taking application from Microsoft. You can download OneNote to run as a desktop application or access it at OneNote.com.
This program is great for note-taking and long-term projects involving multiple documents. I also use OneNote to draft blogs. However, for print-ready essays, I still port everything over to Microsoft Word.
Why OneNote is Amazing
OneNote differs from Microsoft Word in several ways:
- The auto-save feature means that your notes are immediately backed-up online and never lost (even if you kill your laptop during finals.)
- You can easily see multiple documents as “tabs” in your notebook, which makes it easy to quickly organize your content.
- Pages can run horizontally so are not constrained with how many columns you can have in a single document.
- Copying and pasting from the Internet automatically includes the source URL at the bottom. This means that pasting a case’s headnote onto a page generates a link back to the full case on WestLaw.
How to Use OneNote for Law School
Here’s how you can get the most out of OneNote in law school (or any academic program.)
1. Use one “Notebook” per semester, with a “Section” tab for each class.
I also recommend creating a “general” section where you can put your class schedule and any non-class-specific reminders.
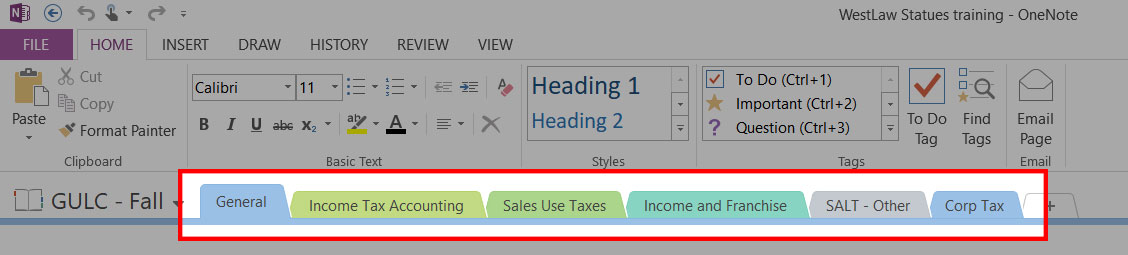
Each class in my OneNote Notebook has its own section.
2. The first page in each section should be the class syllabus or reading list.
Stop hunting for the PDF of your syllabus every week. Just copy and paste the syllabus for each class into OneNote and it’s always handy.
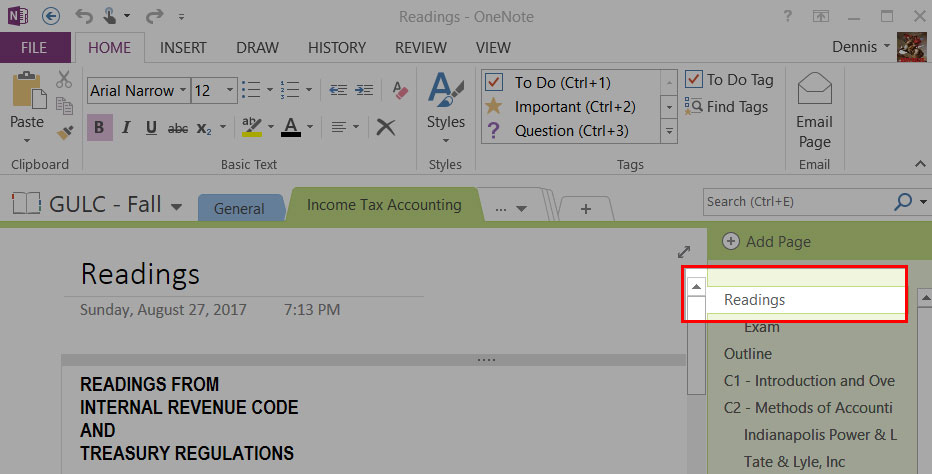
The reading list or syllabus should always be the first page of every class section in OneNote.
3. Add a page for each class.
As the semester progresses, add a page for each class. I use the naming convention “C# + Title,” so the first class may be “C1 – Introduction.”
If you have a class with a lot of assigned readings, consider adding subpage for each assigned reading and copying the entire case or statute section into those subpages. This will allow you to quickly search the full-text of the reading assignment during class. This also allows you to search the full text of every assigned reading if you’re taking an open-book exam.
Note: To create a subpage, you simply use the “add page” button, and drag the newly created page underneath a parent page.
In the example below, all of my notes for class #2 are on the page titled “C2 – Methods of Accounting,” and the subpages underneath that class page contain the full-text of each reading assignment.
Tip: Don’t write your notes on these subpages because it will make them too hard to find.
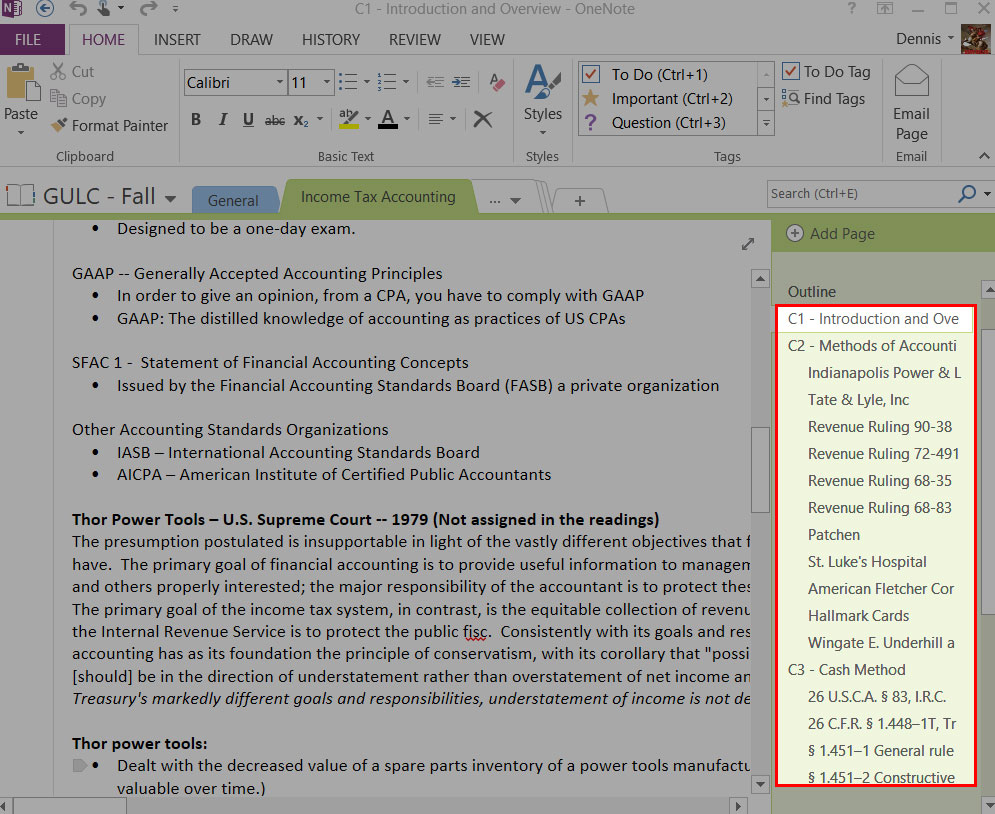
OneNote subpages used for housing full reading assignments.
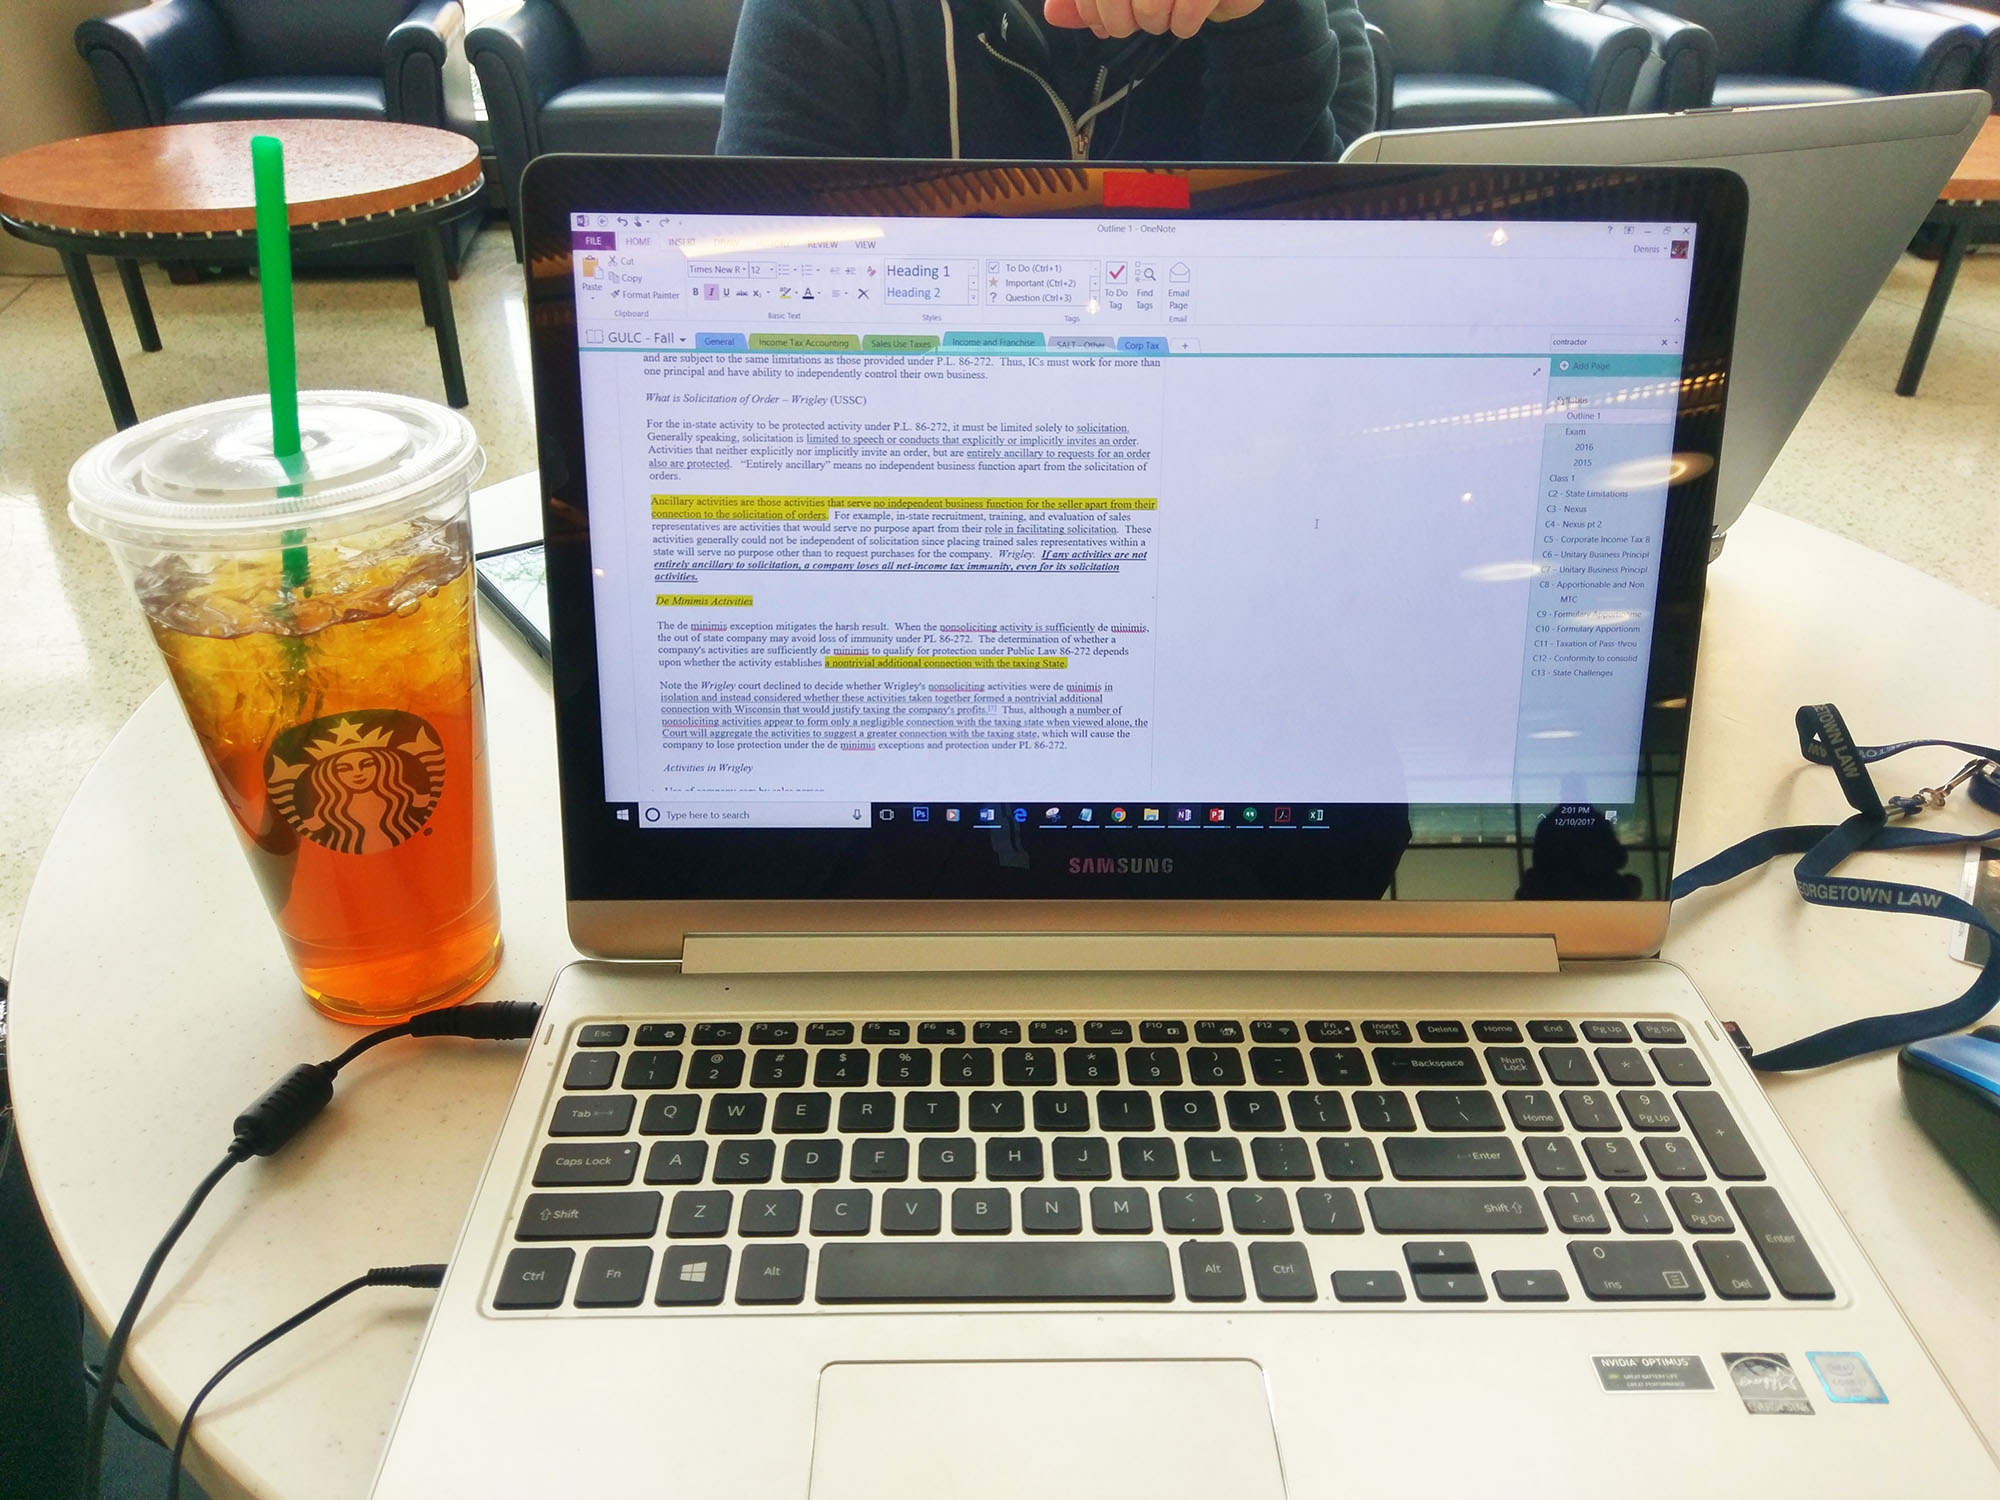
4. Come up a highlighting convention
A consistent highlighting convention can make it much easier to revisit your notes when you’re outlining (or referencing the notes for a take-home final.)
This is what I used:
- Green: Assigned case names (usually only on the first reference).
- Yellow: Important or interesting facts.
- Blue: Something I think is probably going to be on the exam.
- Purple: Something the professor said will be on the exam.
Having a highlighting system is a definite time-saver for open-note exams because you’re not staring at a sea of yellow.
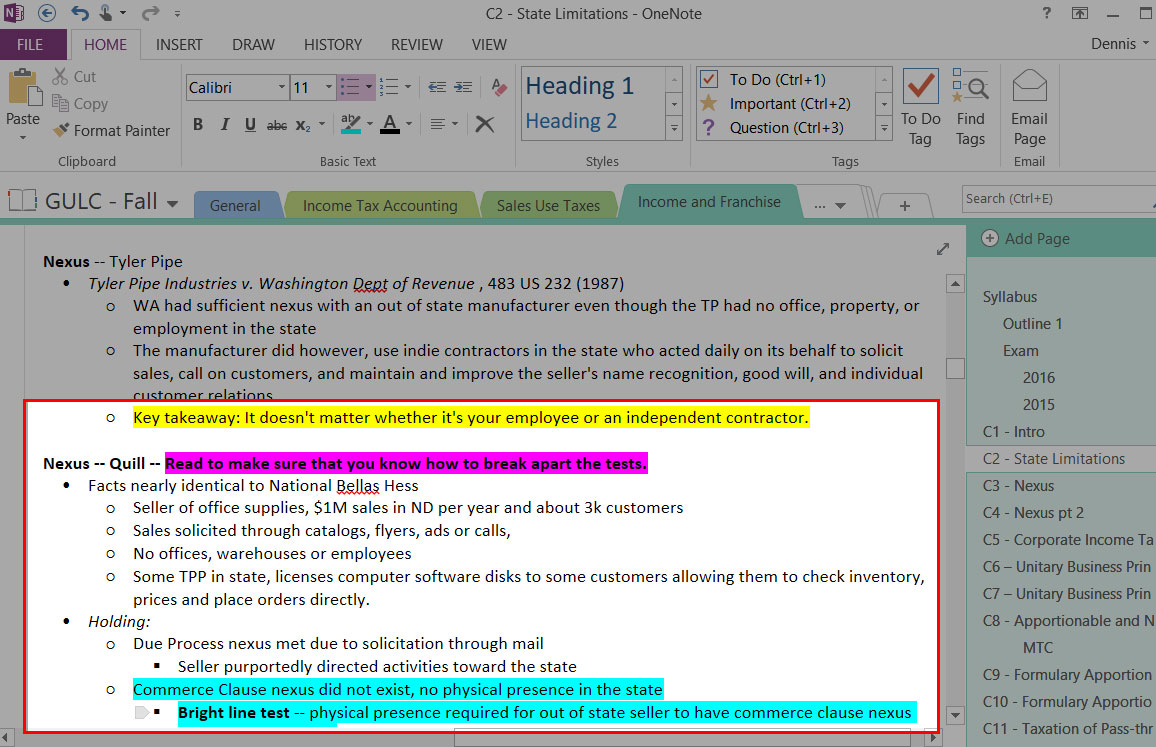
OneNote highlighting techniques.
5. Consider using a two-column approach to note-taking
For classes with many small reading assignments, it may be easier to use two columns on a single page. In the example below, I have the assigned readings (and headnotes) in the first column with my in-class notes in the second column.
The purpose for this is that you can quickly reference the reading assignment without having to flip to a different OneNote page. Pasting the headnotes from WestLaw will generate a link below the text which you can use to pull-up the full opinion if needed.
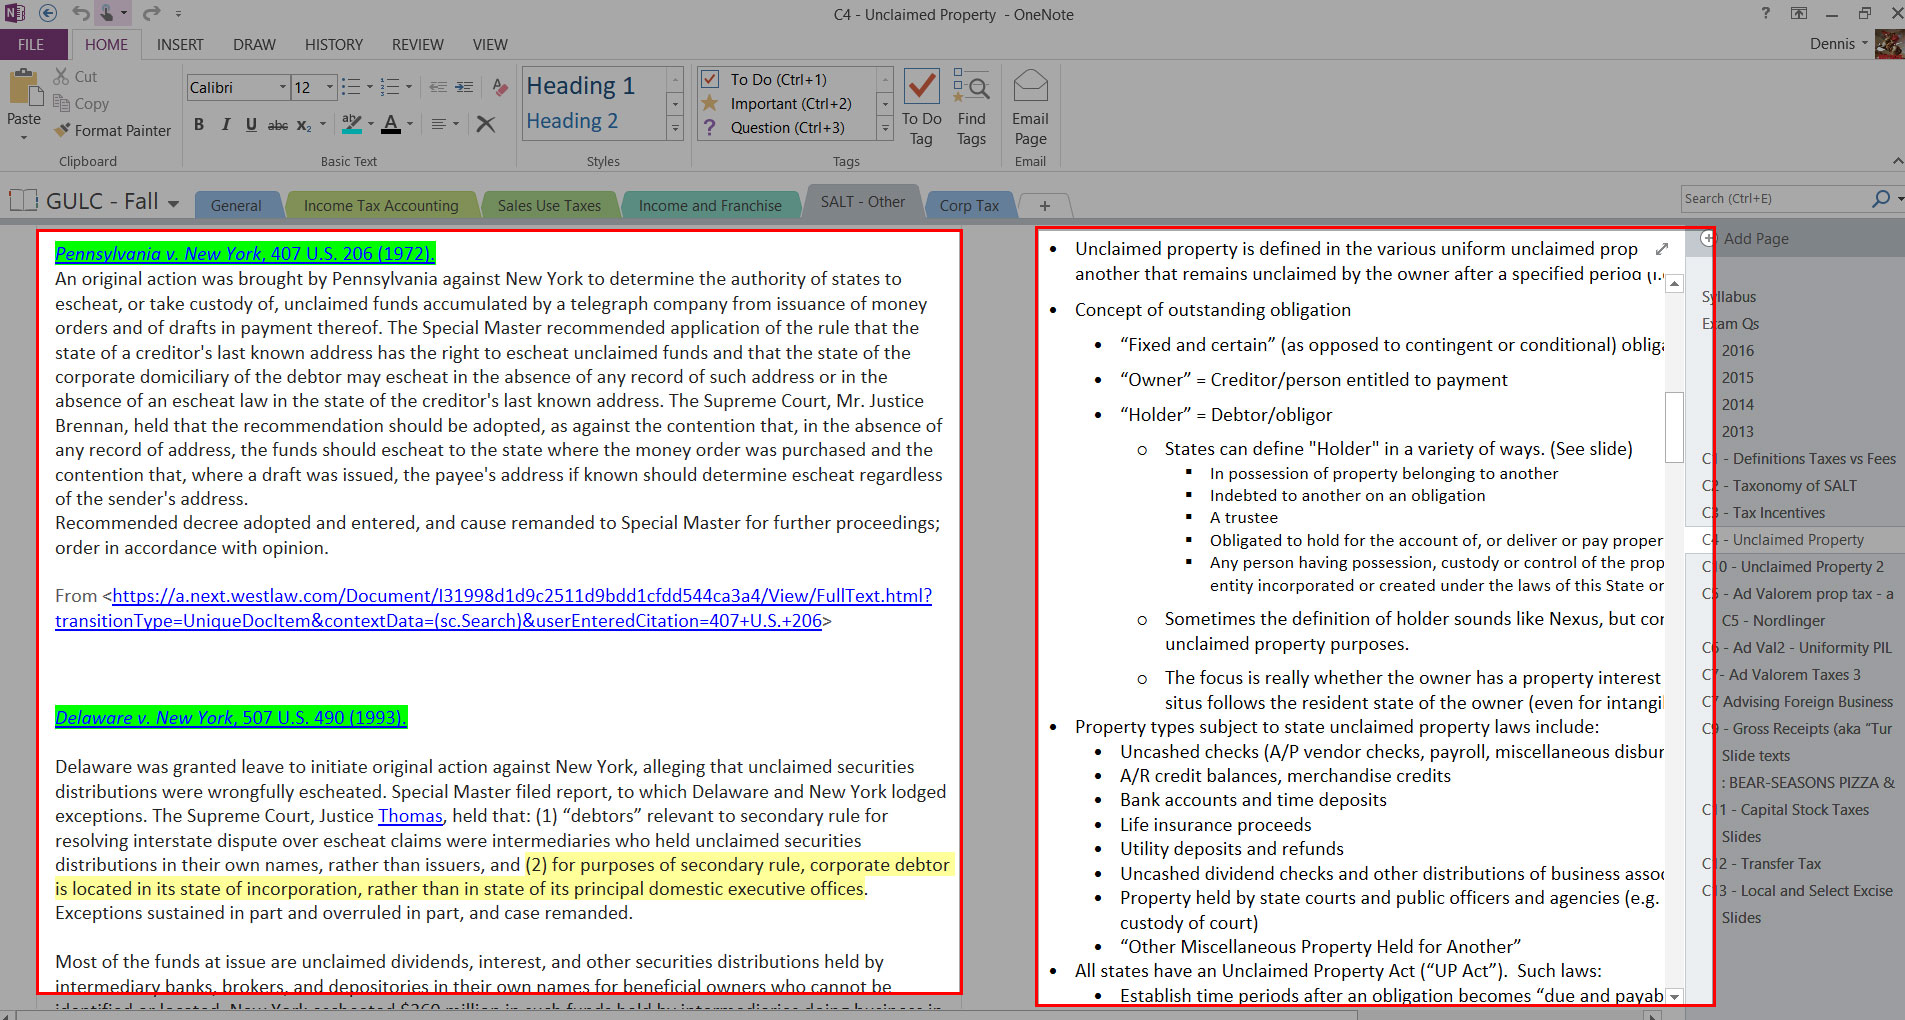
Two column notes in OneNote.
That’s all!
This is just a brief non-exhaustive look at how you can use OneNote for school. There are many other ways OneNote can be used and your goal should be to figure out what works best for you.
Feel free to add additional tips in the comments!
4 Comments
Craig Marriott
January 18, 2020 at 11:55 pmGreat article i use One Note and just searched to see if anyone else used it. I picked up some useful tips here. I also print all reading material and relevant cases into separate tabs it does make it much easier when dealing with PQs and essays.
Jansen
August 12, 2020 at 10:08 pmThe problem I found with Print is that I rarely went back and read the notes — plus it’s not searchable.
Kelly j campbell
August 12, 2020 at 9:53 pmHow do you set up the two column approch on a page, I think that would be useful for briefs and corresponding class notes but I can’t figure out how to do it?
Jansen
August 12, 2020 at 10:07 pmHow it works on my version (PC) is that all text has a “box” of sorts that you can resize. When you click outside of the box, it starts a new column.